It’s All In The Detail…

September 18, 2019
I can’t profess to being one who knows a great deal about looking after the paintwork of a car. To my mind, paint keeps the weather off. A train of thought that becomes evident when you see my cars. But that’s no way to be, is it? There is nothing better than a car with paint so deep and clear that it leaves you looking for your swimming shorts. I need some of that action in my life, but as none of my cars work (and because my daily 2012 C Max isn’t exactly ‘on brand’) I instead offered a session with the scrubbing brush to Tom Wood’s Mercedes-Benz 500SL – he’s the boss, so this will put me in good stead come review time. Anyway, I digress.
The reason for putting this feature together is not to go deep into the fanatical world of detailing, with its thousand pound waxes, and cloths made from virgin Egyptian cotton soaked in the tears of unicorns. No, I wanted to explore what techniques there are that people like you or I can adopt at home to better preserve and also restore the paintwork of our cars.
For this, I needed a man. And that man comes in the form of Kev Daly of KP Daly Automotive. He’s been in the trade for a considerable amount of time, and has honed his skill on many a needing body. So to speak. His specialty isn’t detailing in the normal sense, but rather paint restoration and protection. As such, he’s more in tune with the needs of an old car than most, and with that, proved to be a most useful source of information and guidance.
And what’s more, if you read this feature but still feel like you need some guidance, Kev, who is based in Potters Bar, is happy to teach you his skills. Or, failing that, you can just have Kev do the work for you – and you should, because as you’ll see, he’s very good indeed (you can contact Kev via [email protected] or on 07728375135).
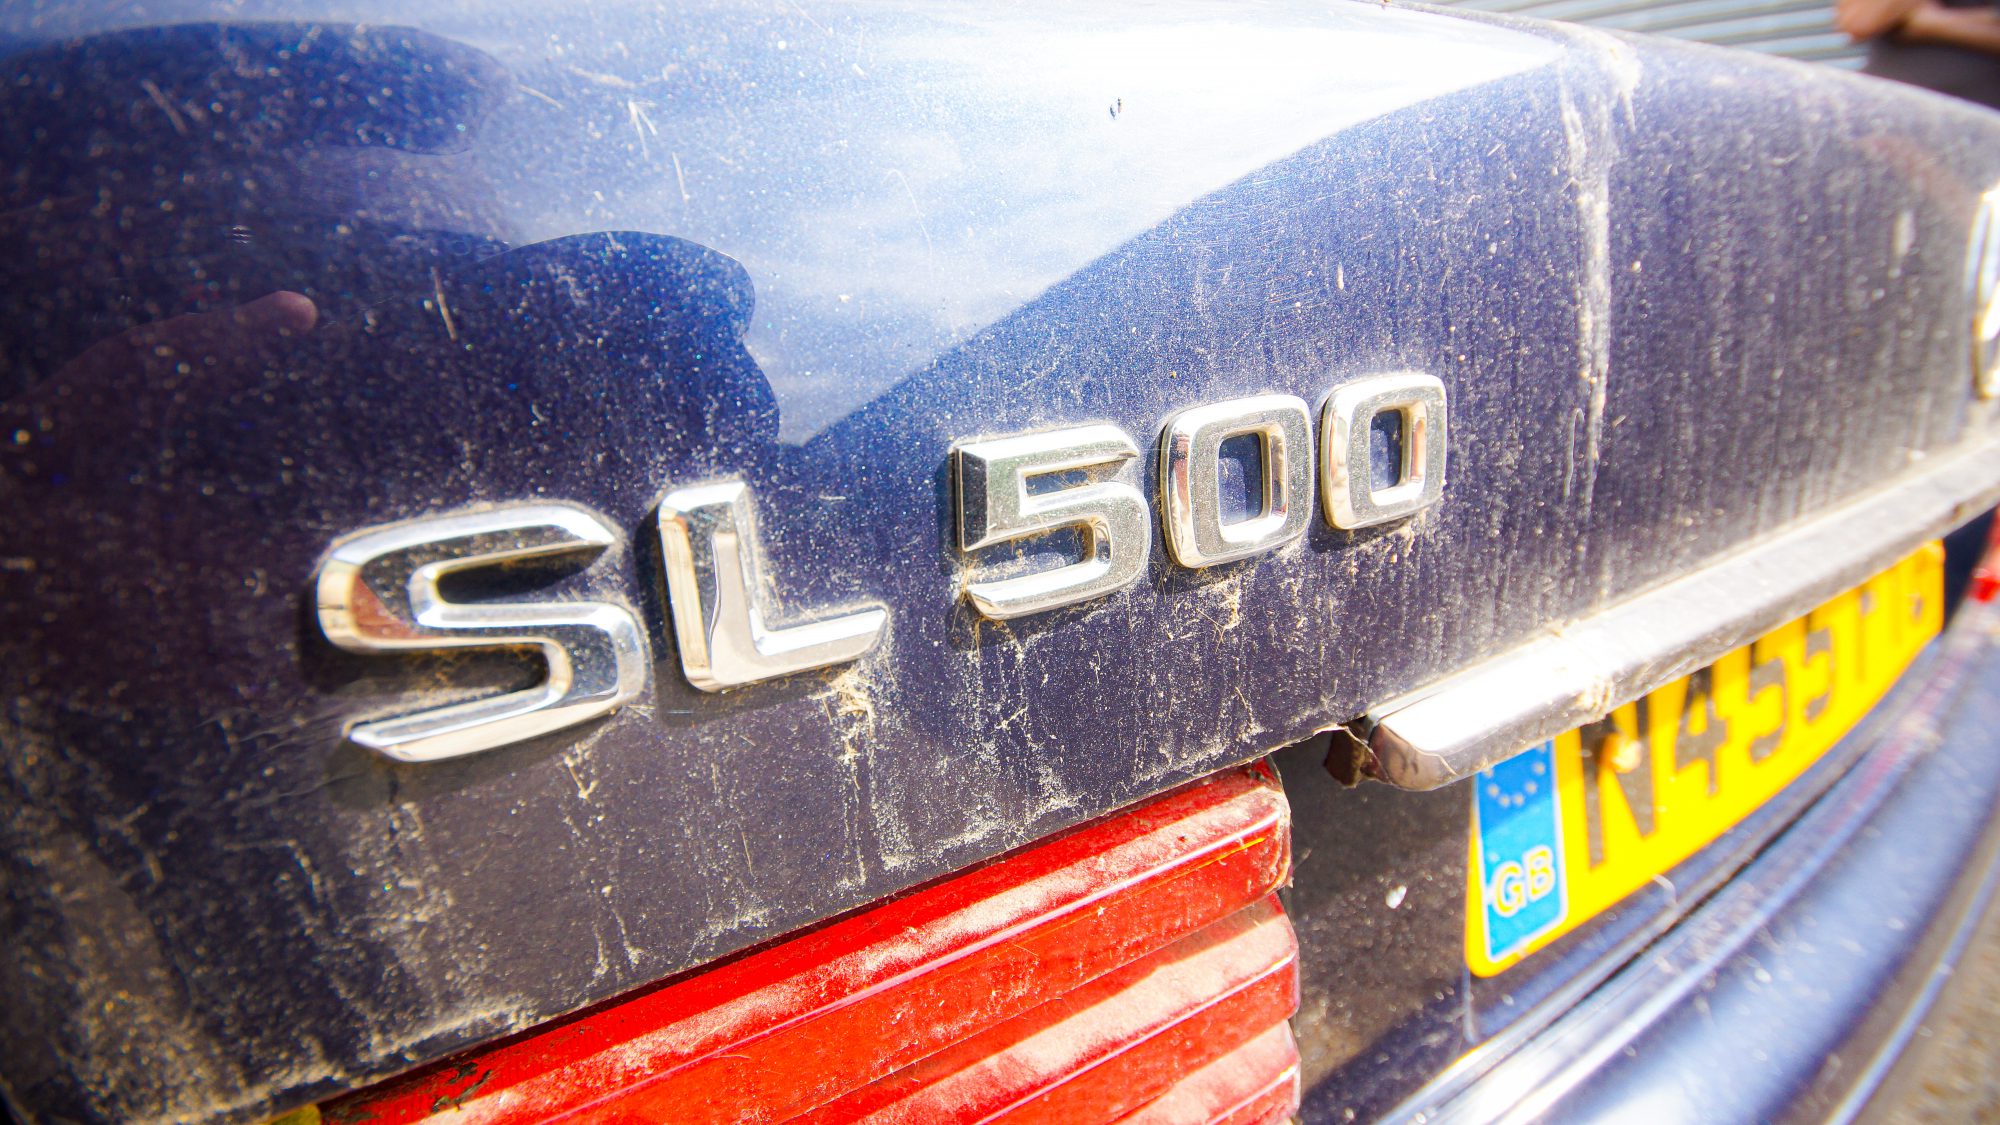
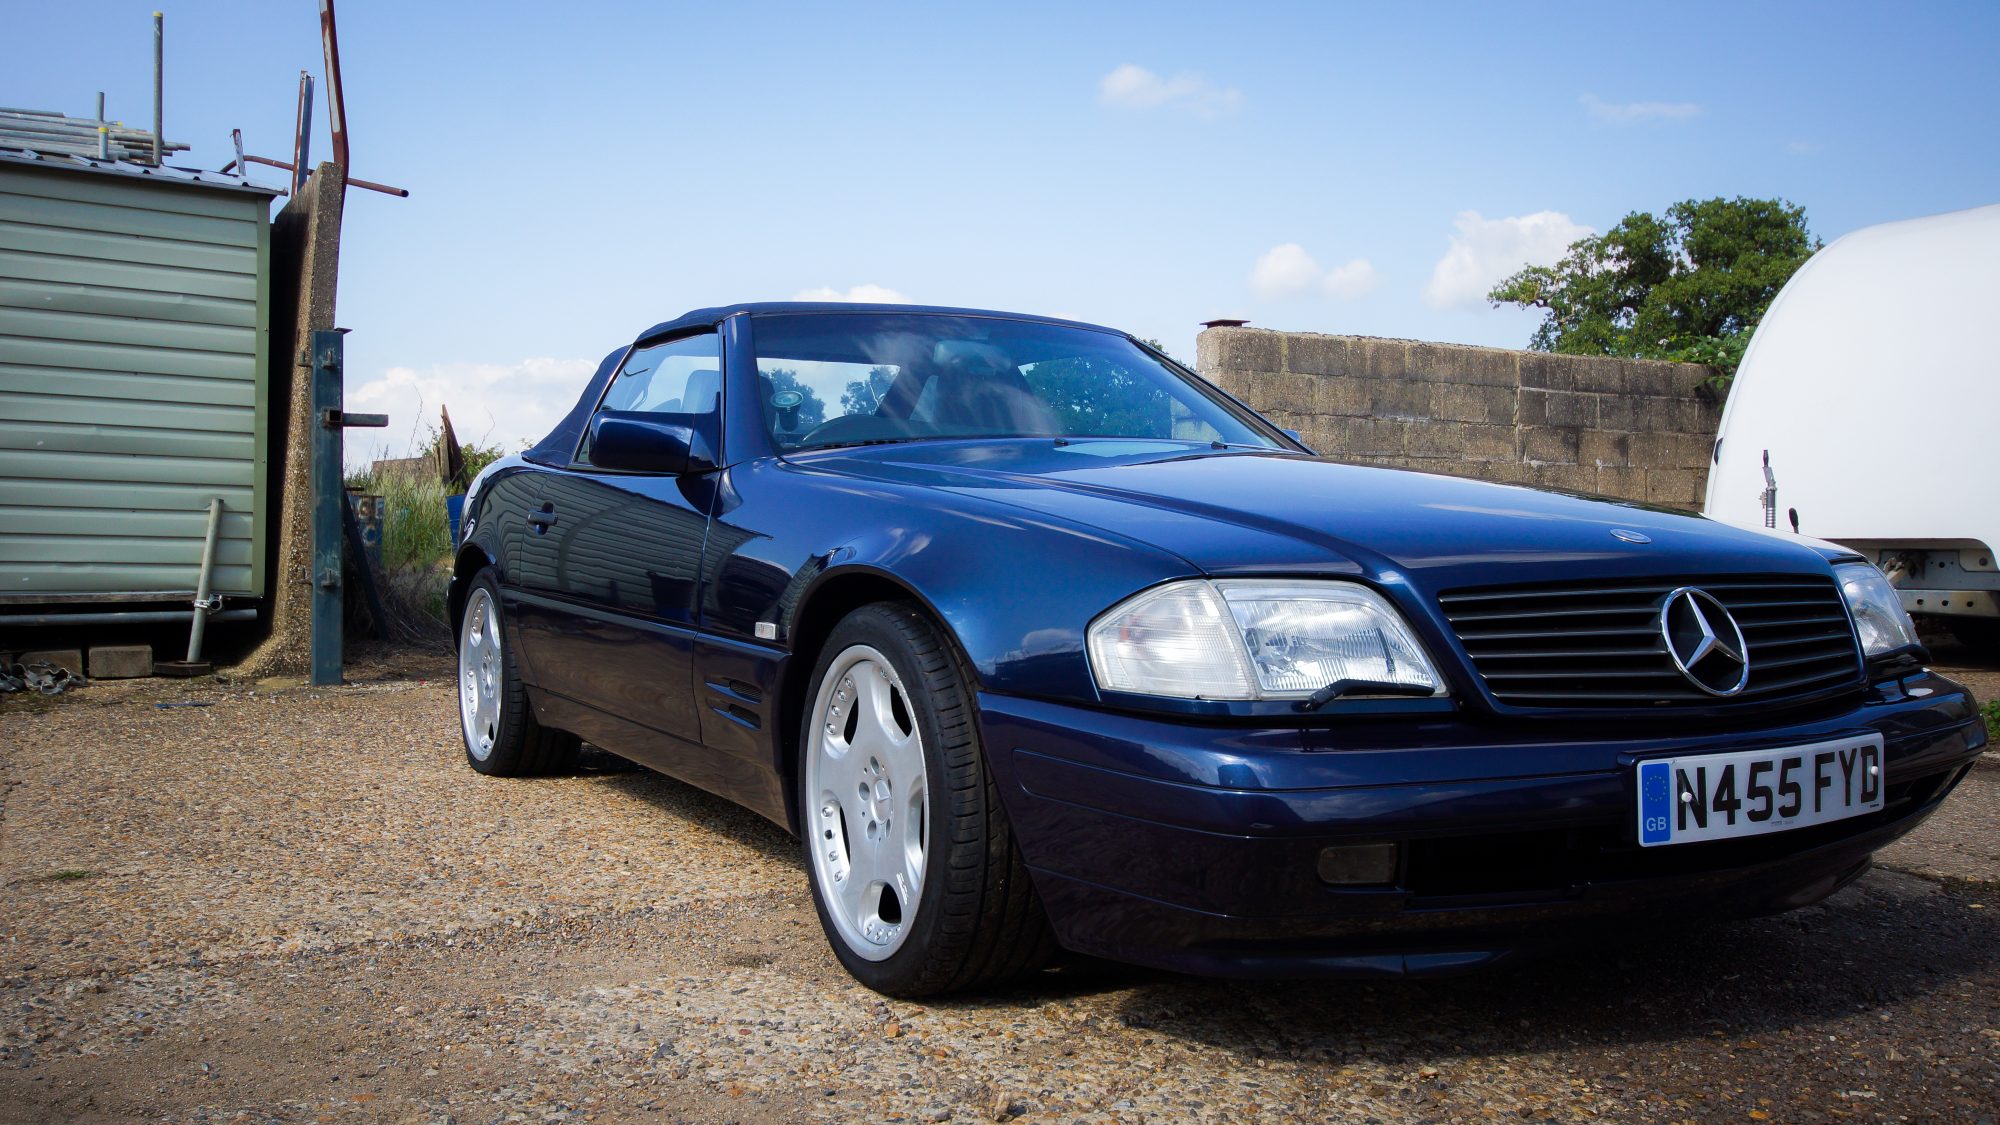
The Car
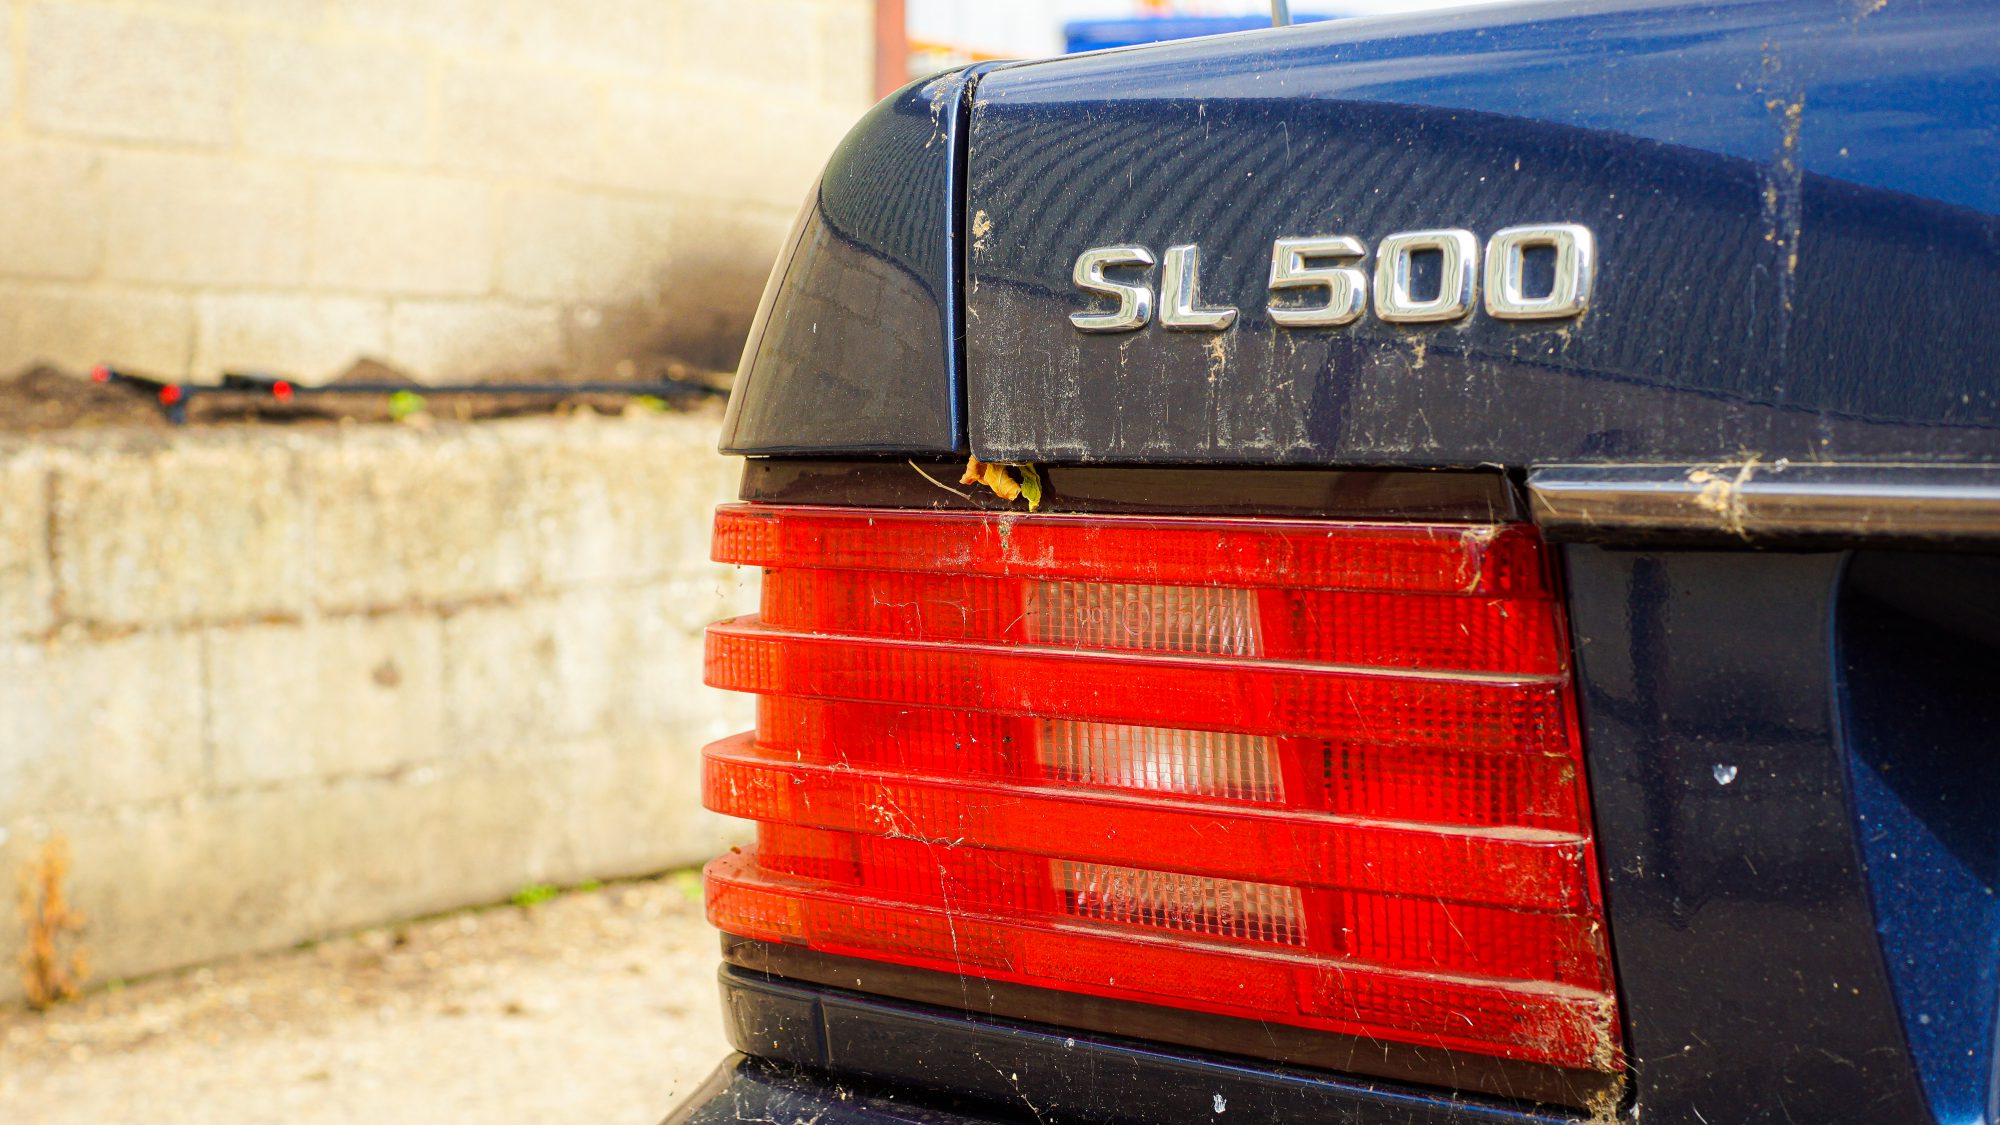
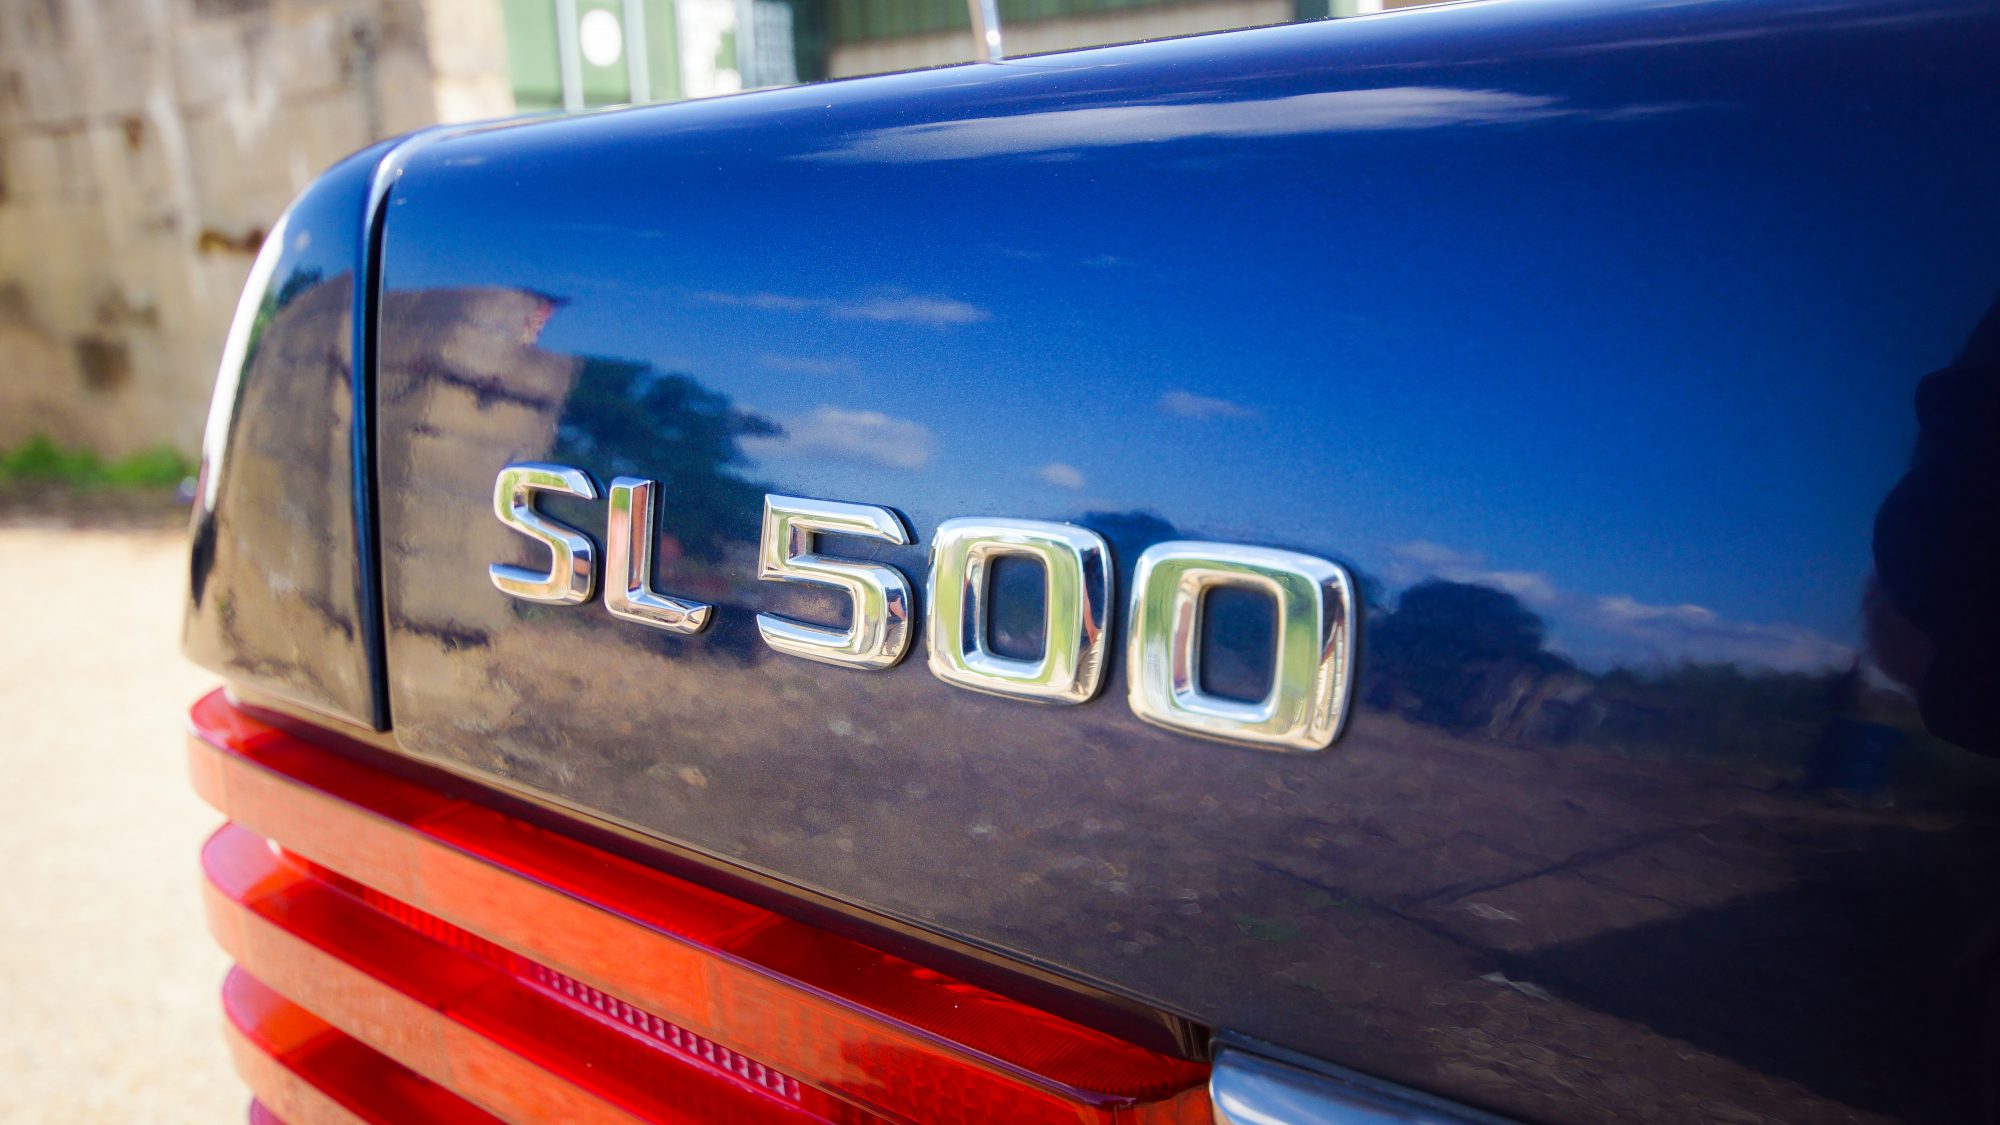
Naturally, we needed a set of wheels to clean, as I said earlier, none of mine were suitable, so we instead grabbed the boss’ 500SL Mercedes-Benz. Handily, we discovered upon its arrival that it had been stored at the bottom of a lake. Perfect for what we were about to attempt, then.
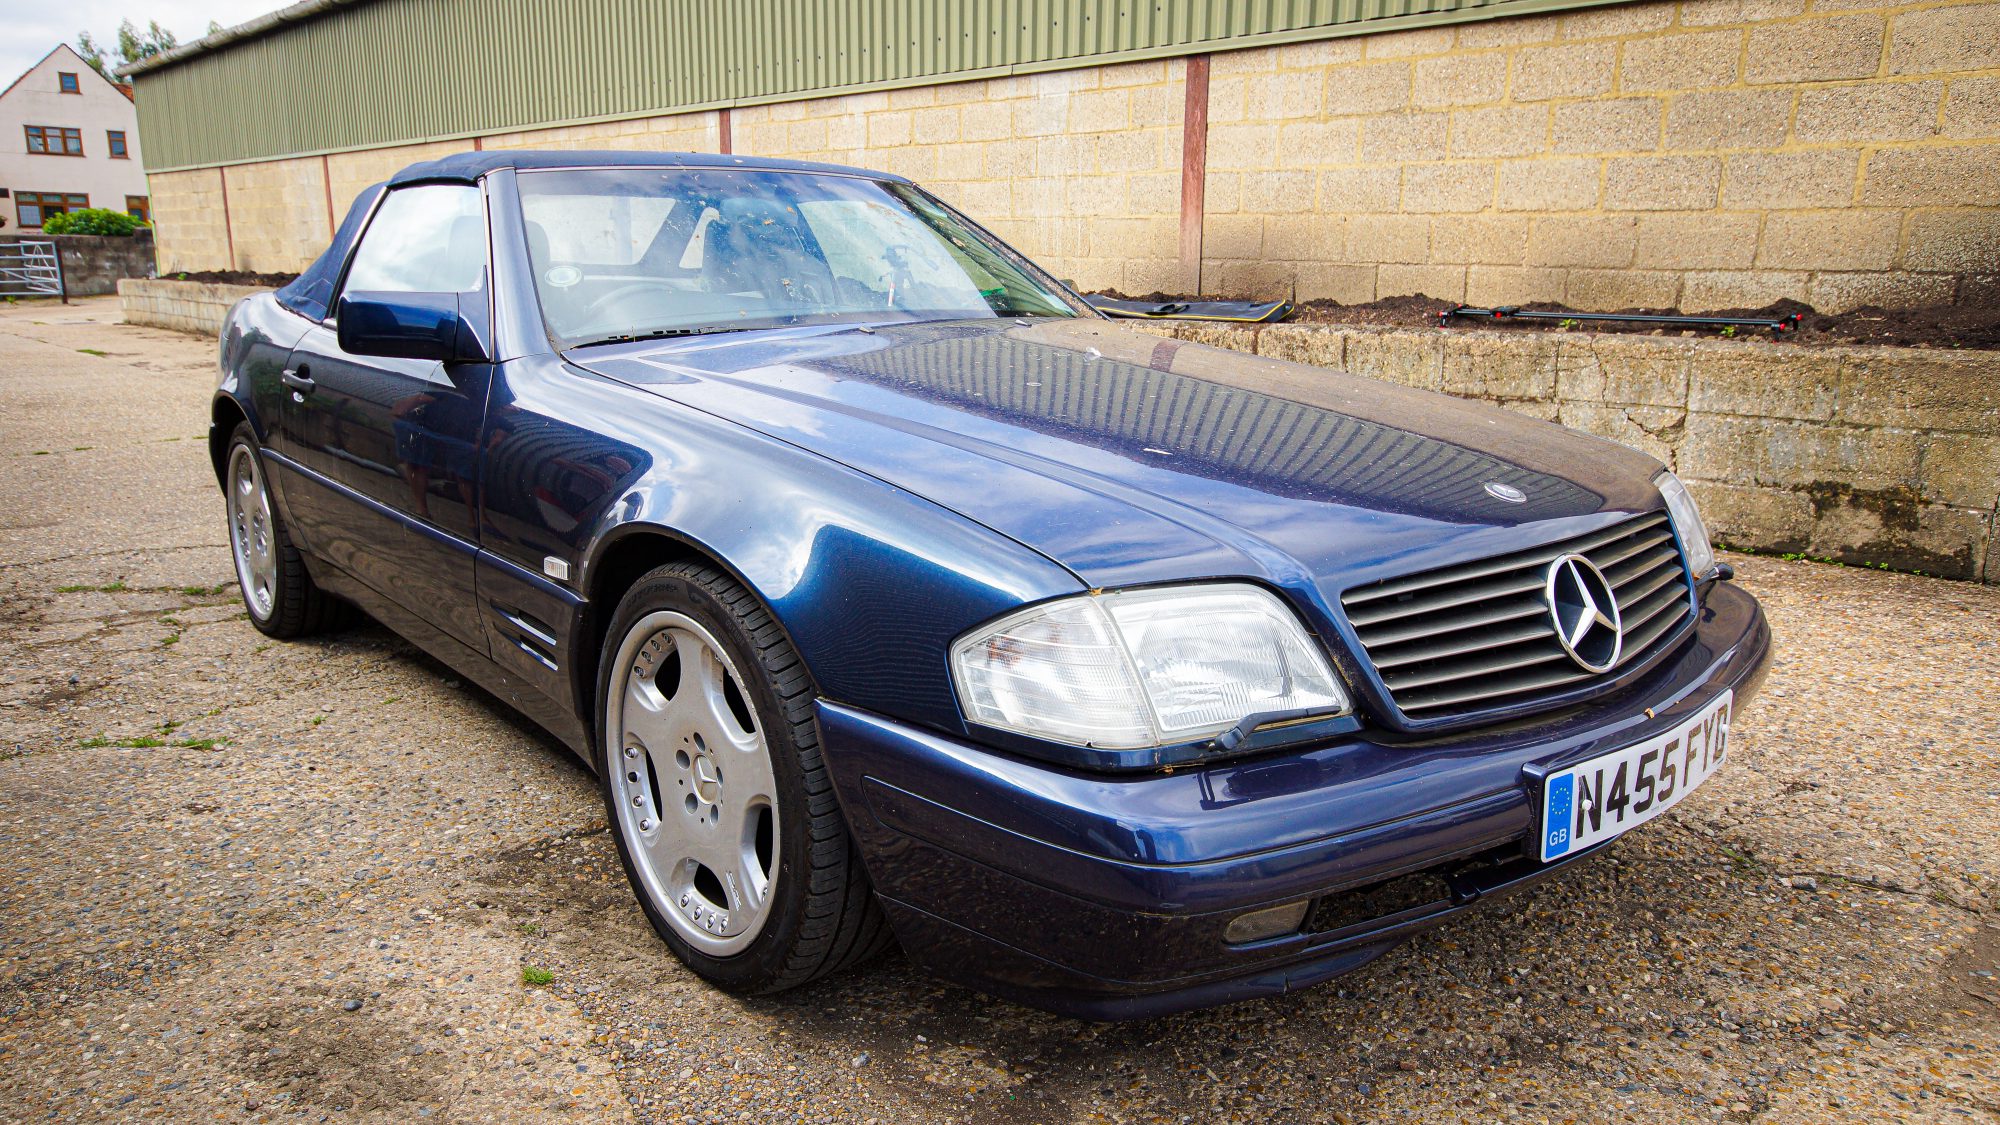
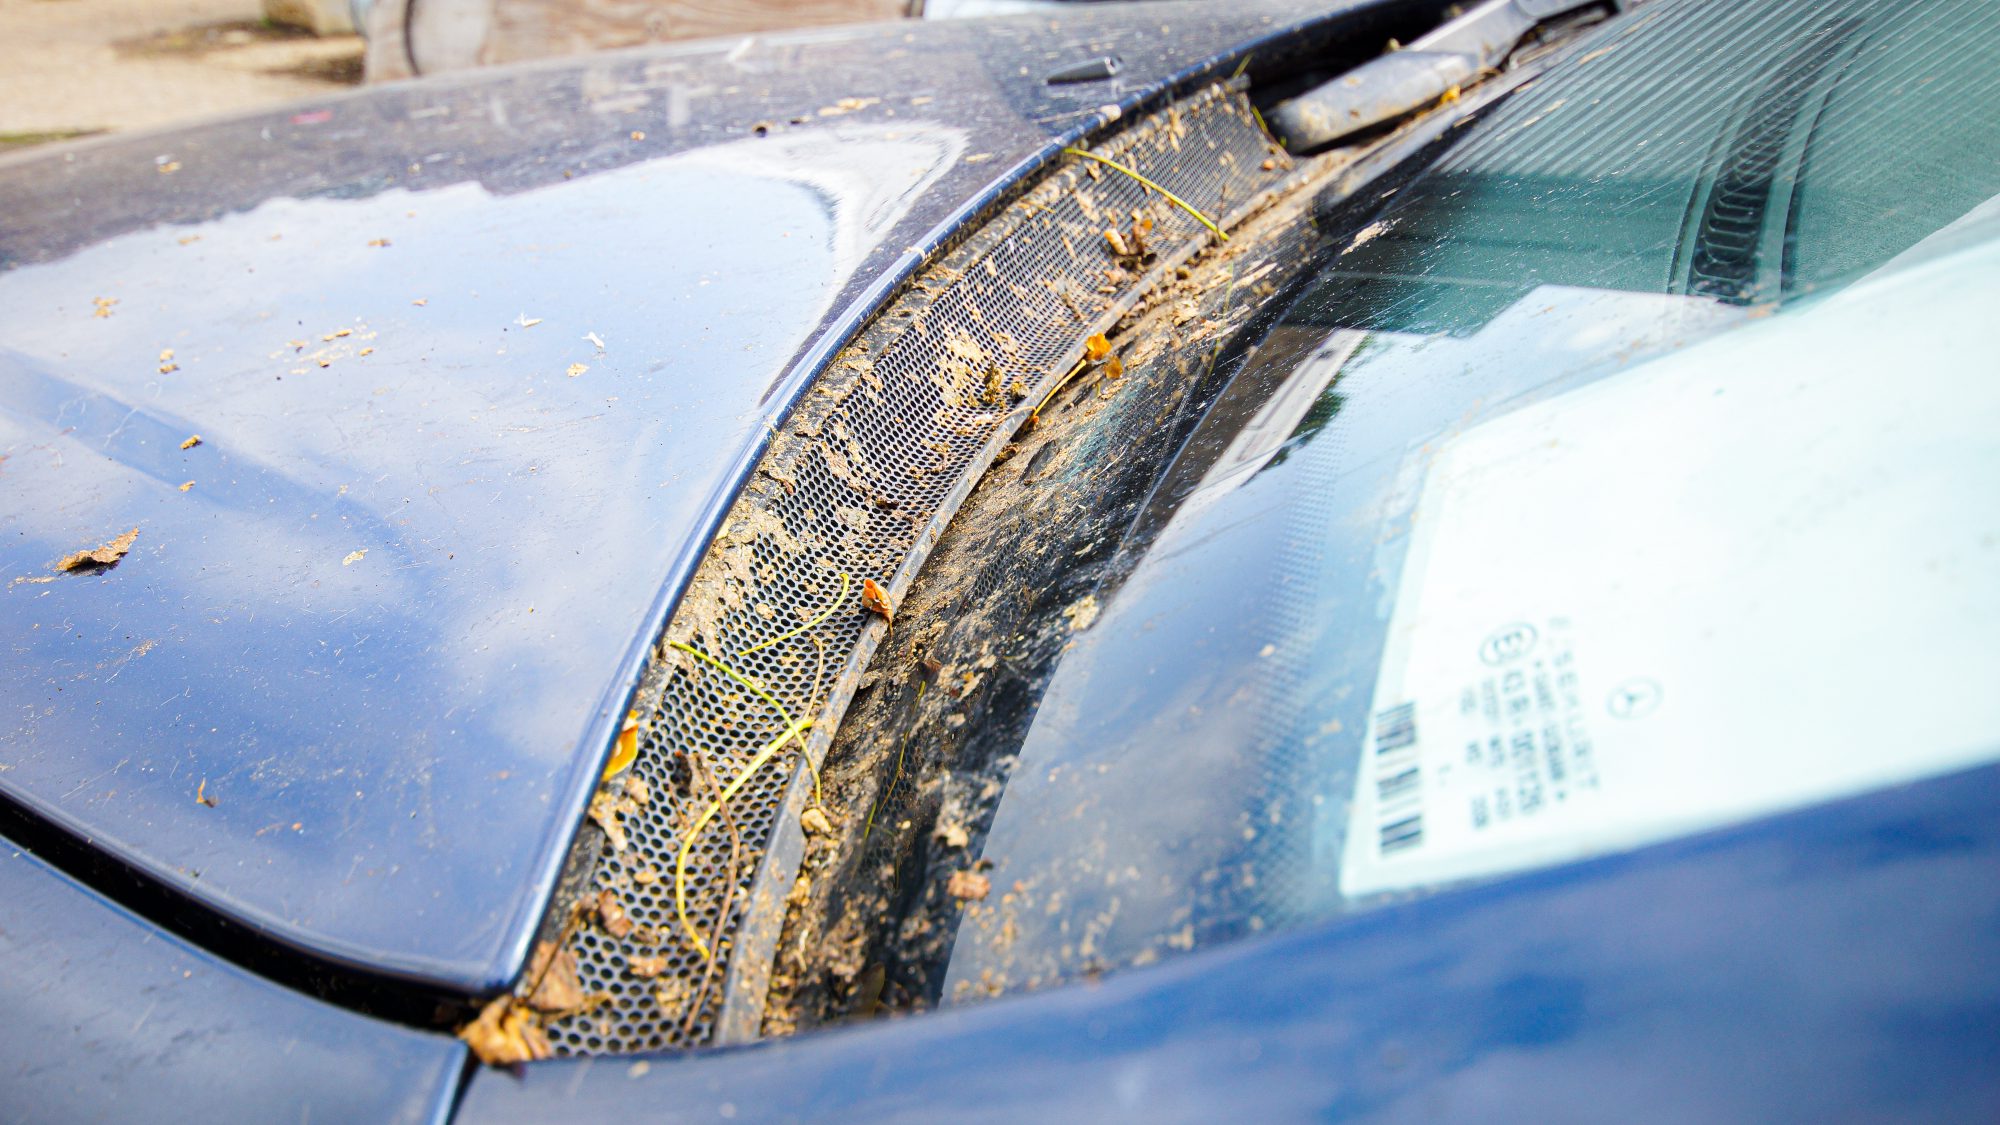
Yep, that’s pretty gross. The paint was heavily, heavily contaminated with the business of many a bird. There were rotting leaves, there was road dirt and grime and there were all manner of stains on the roof. This would be a considerable challenge.
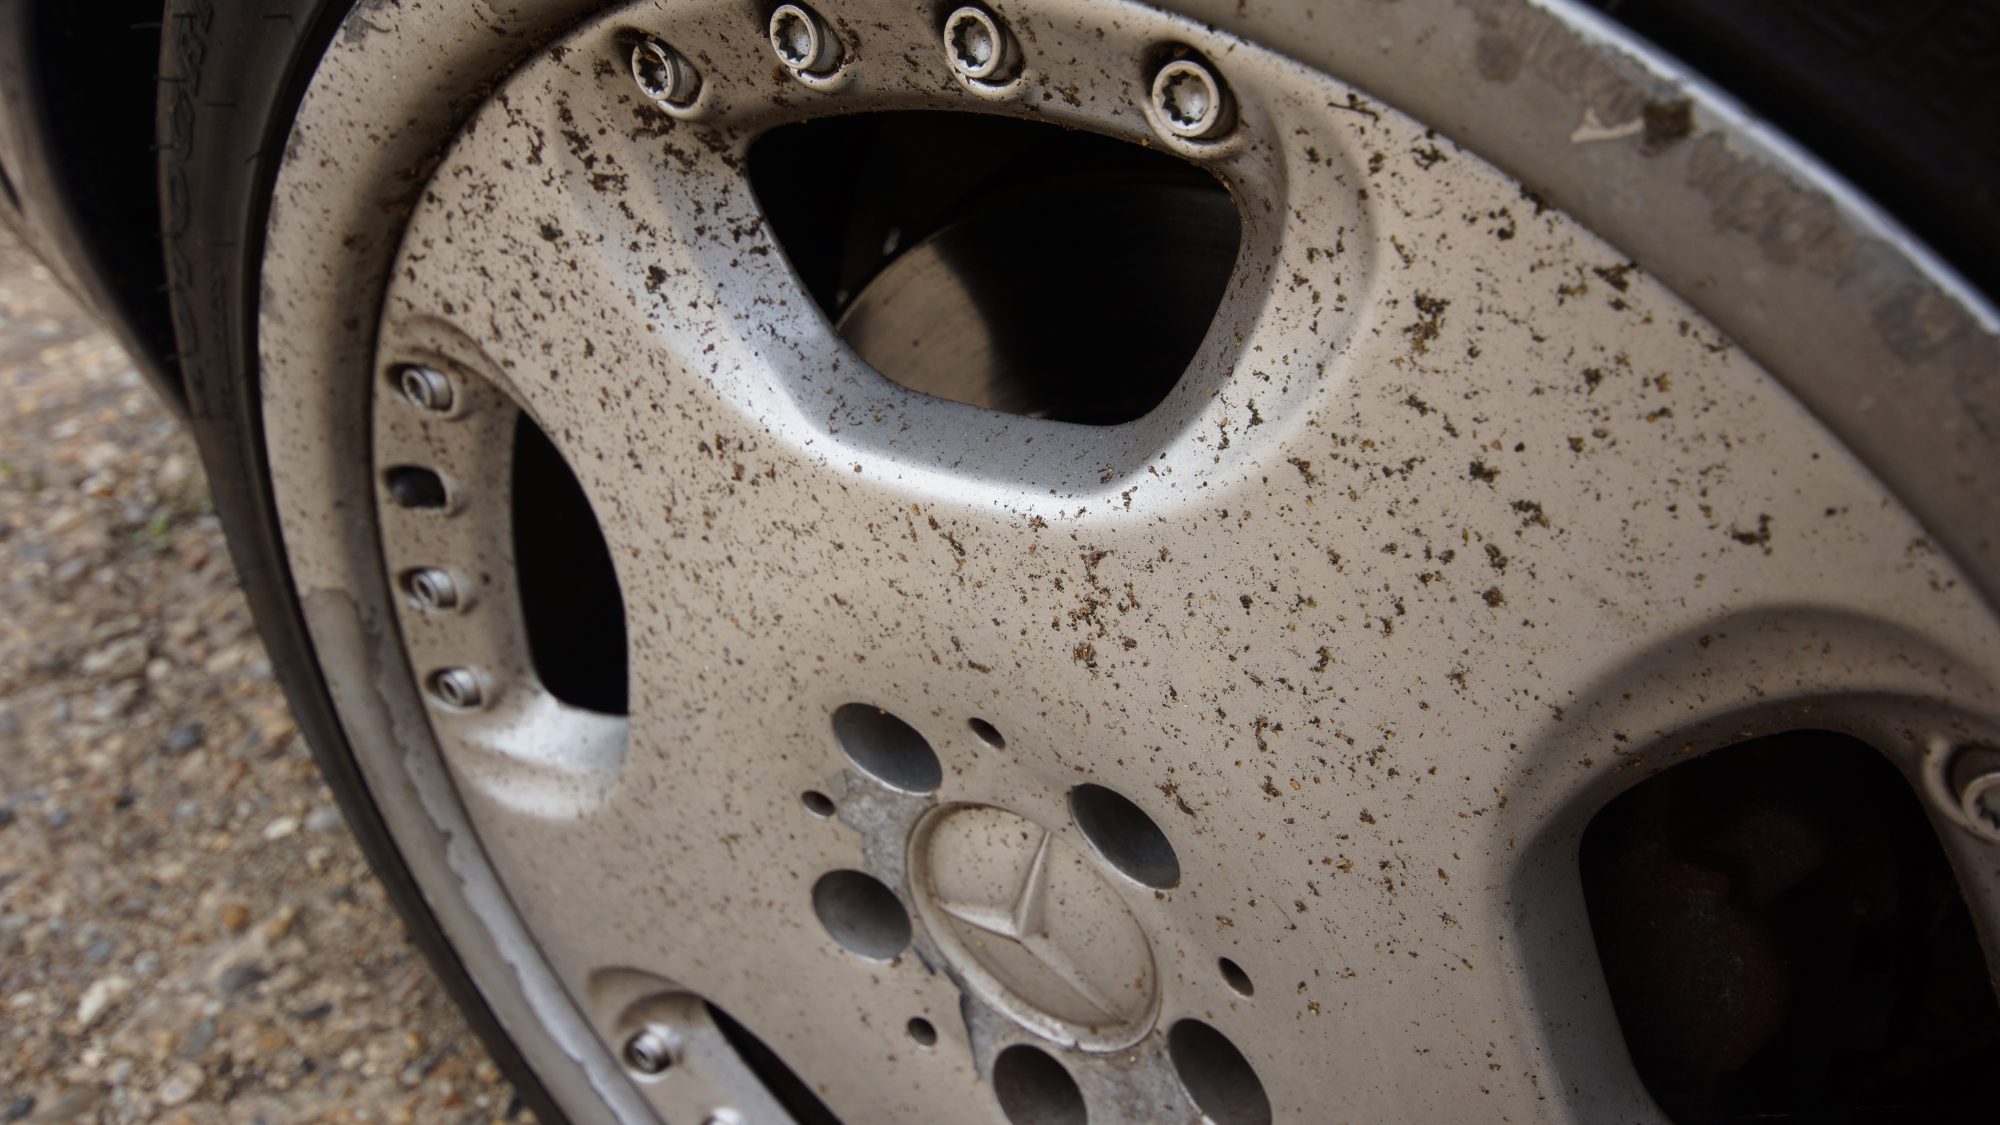
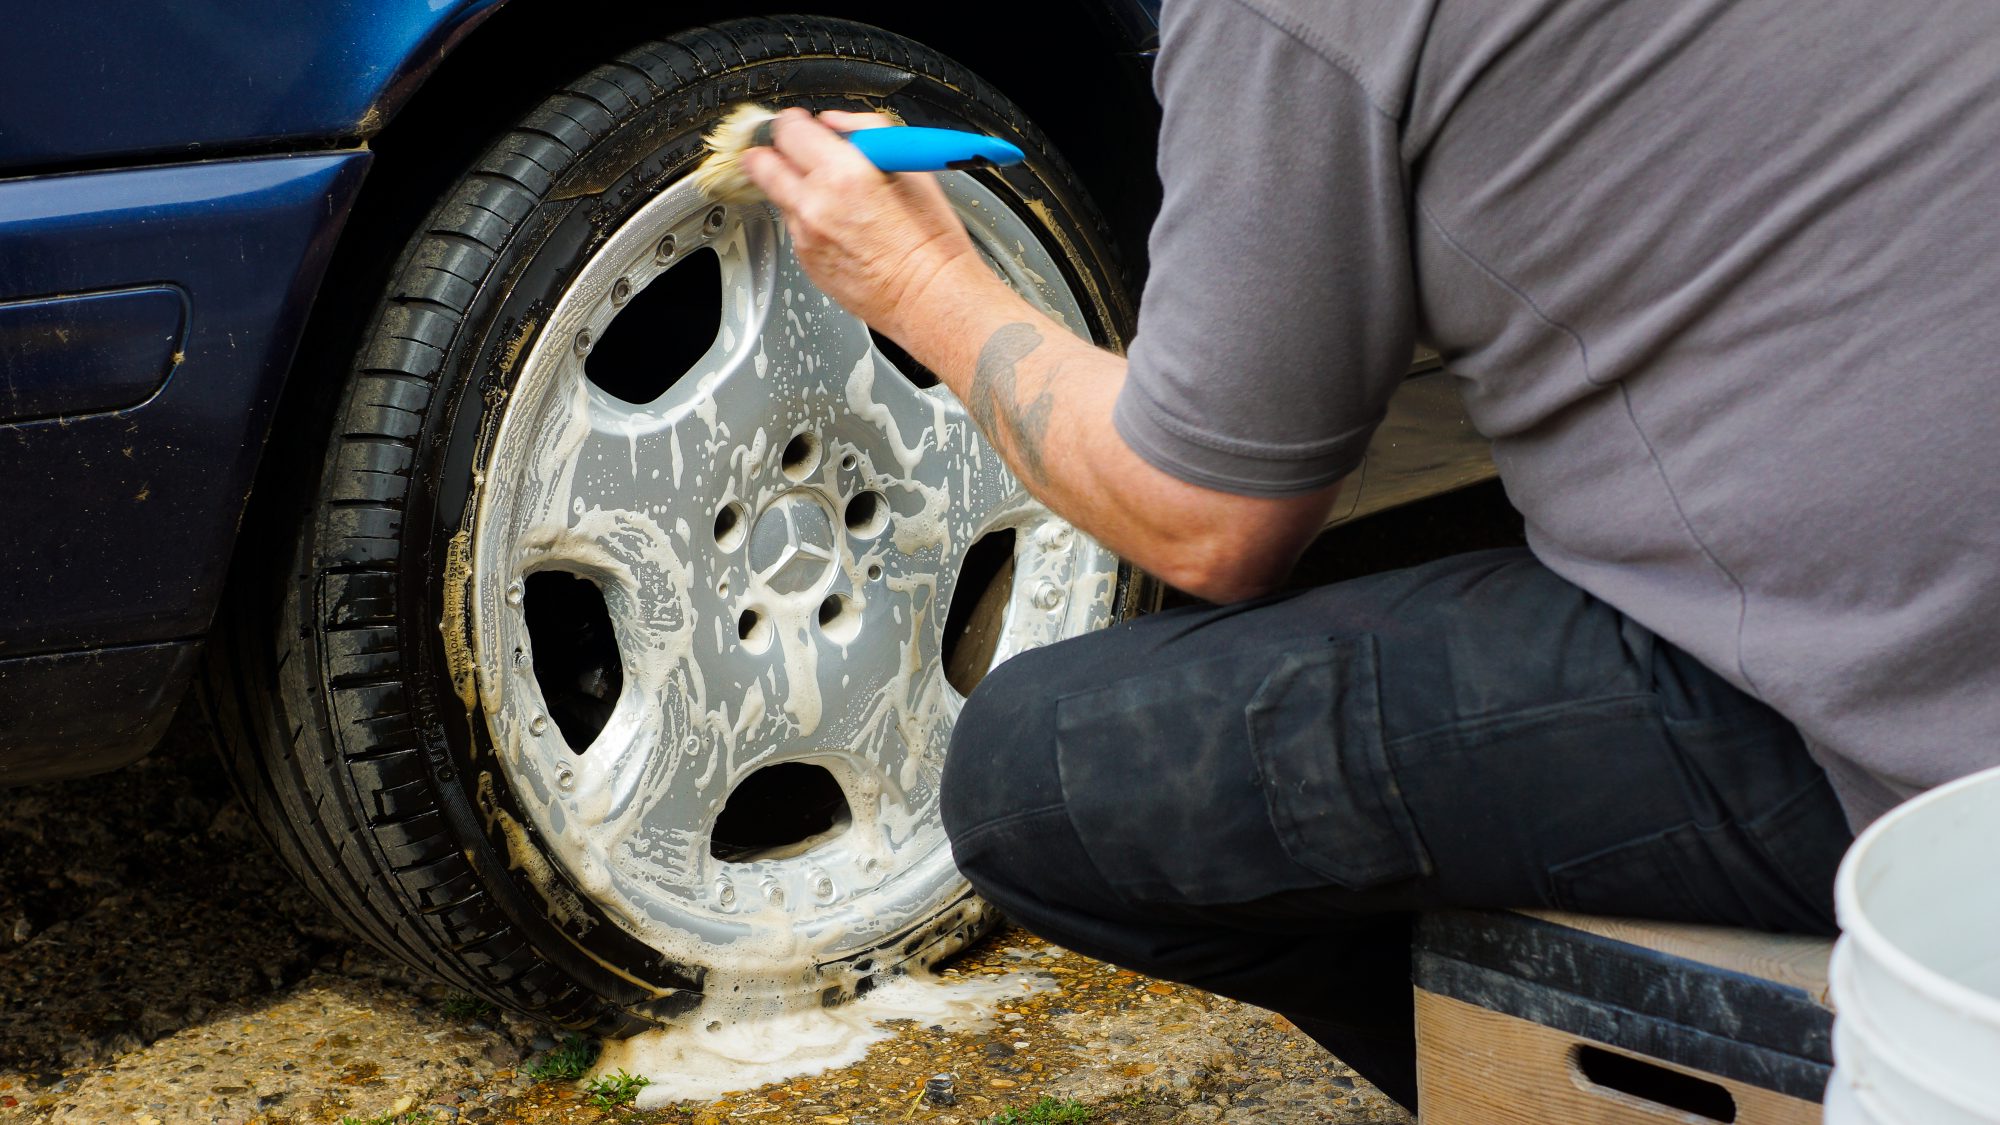
Step 1 – The Wheels
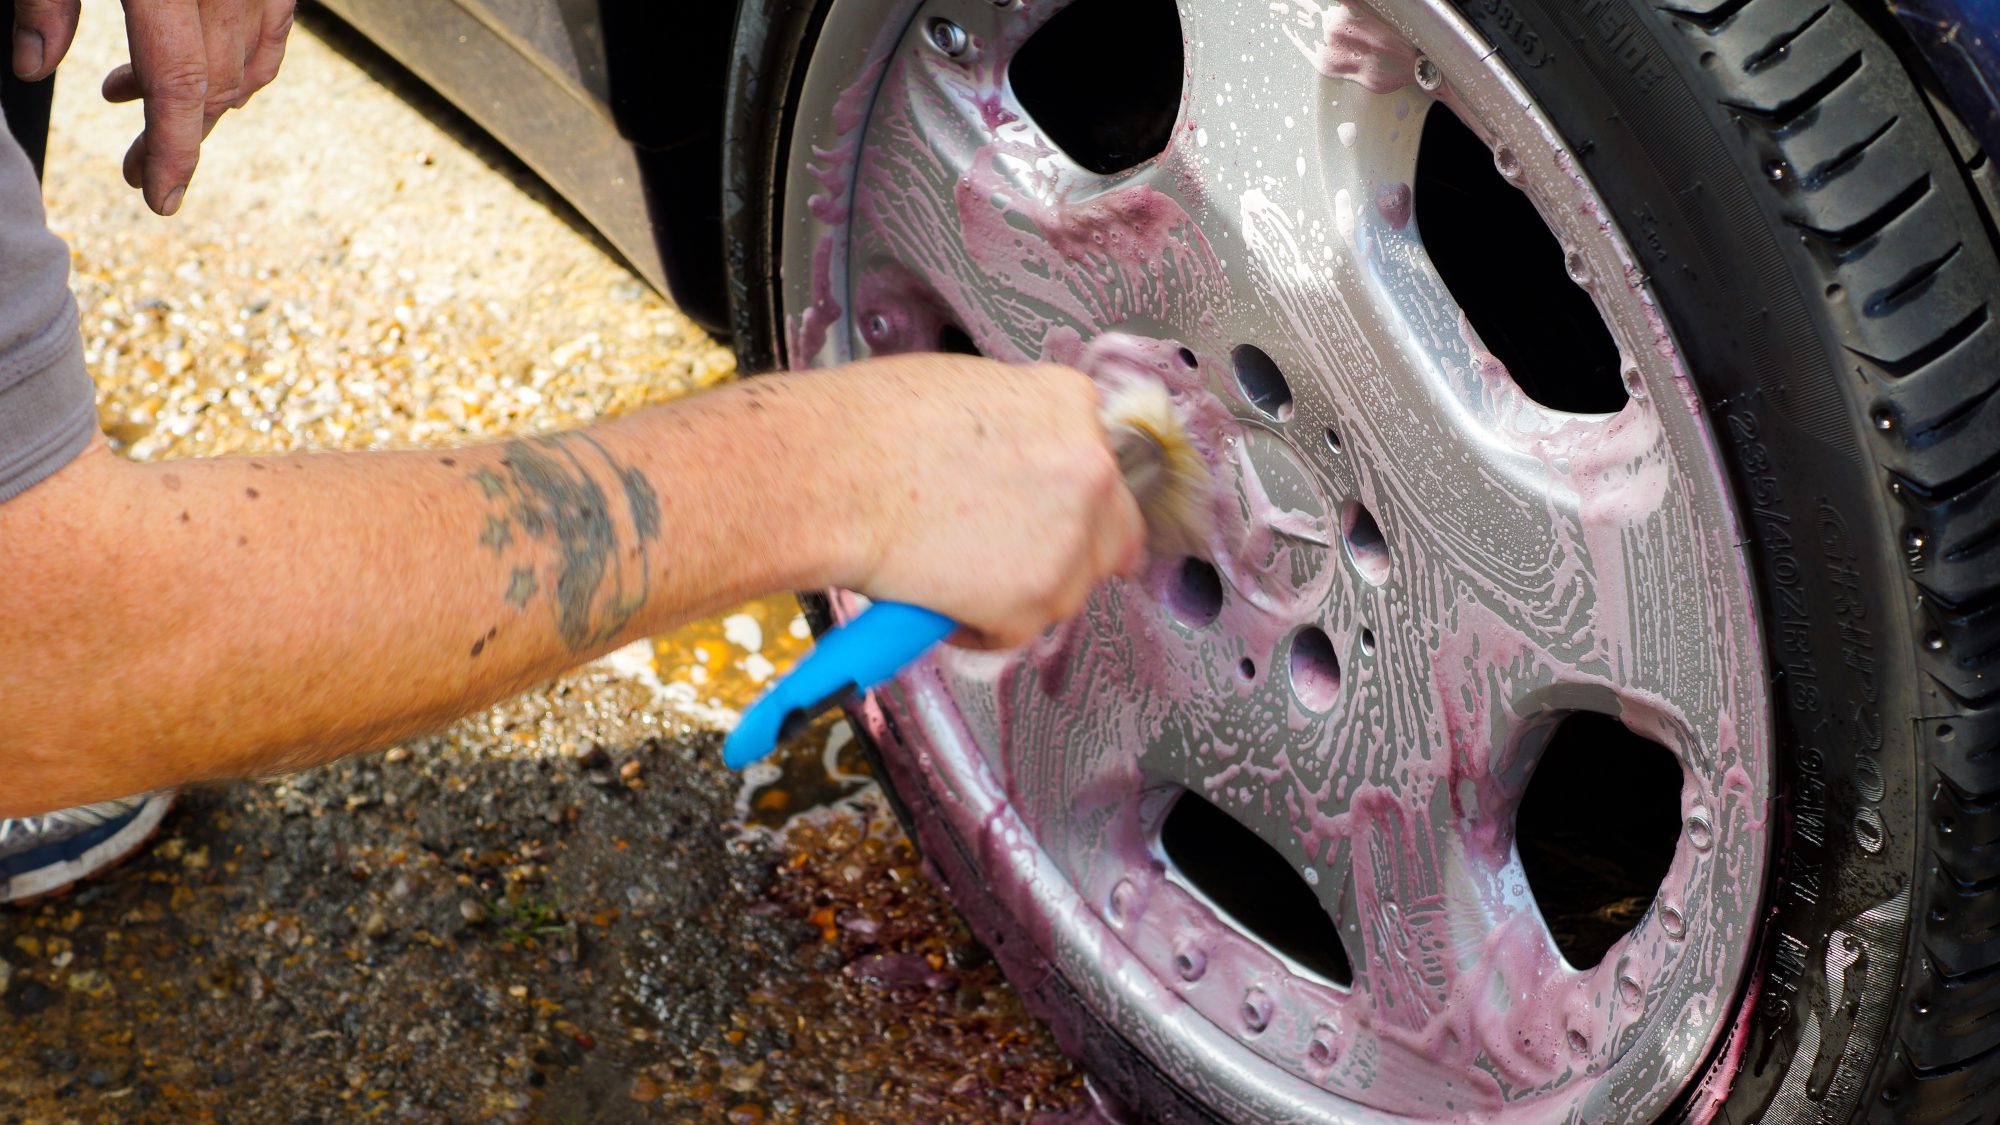
First of all, Kev hits the wheels with some general degreaser, which is worked on with a detailing brush. Leave it to do its thing for a few minutes, then it’s time to go in with the Bilt Hamber wheel cleaner. This is fascinating stuff to watch, as it goes from pink to dark purple as it hunts out the dirt. Once it’s done its colour-changing trick, time to rinse off.
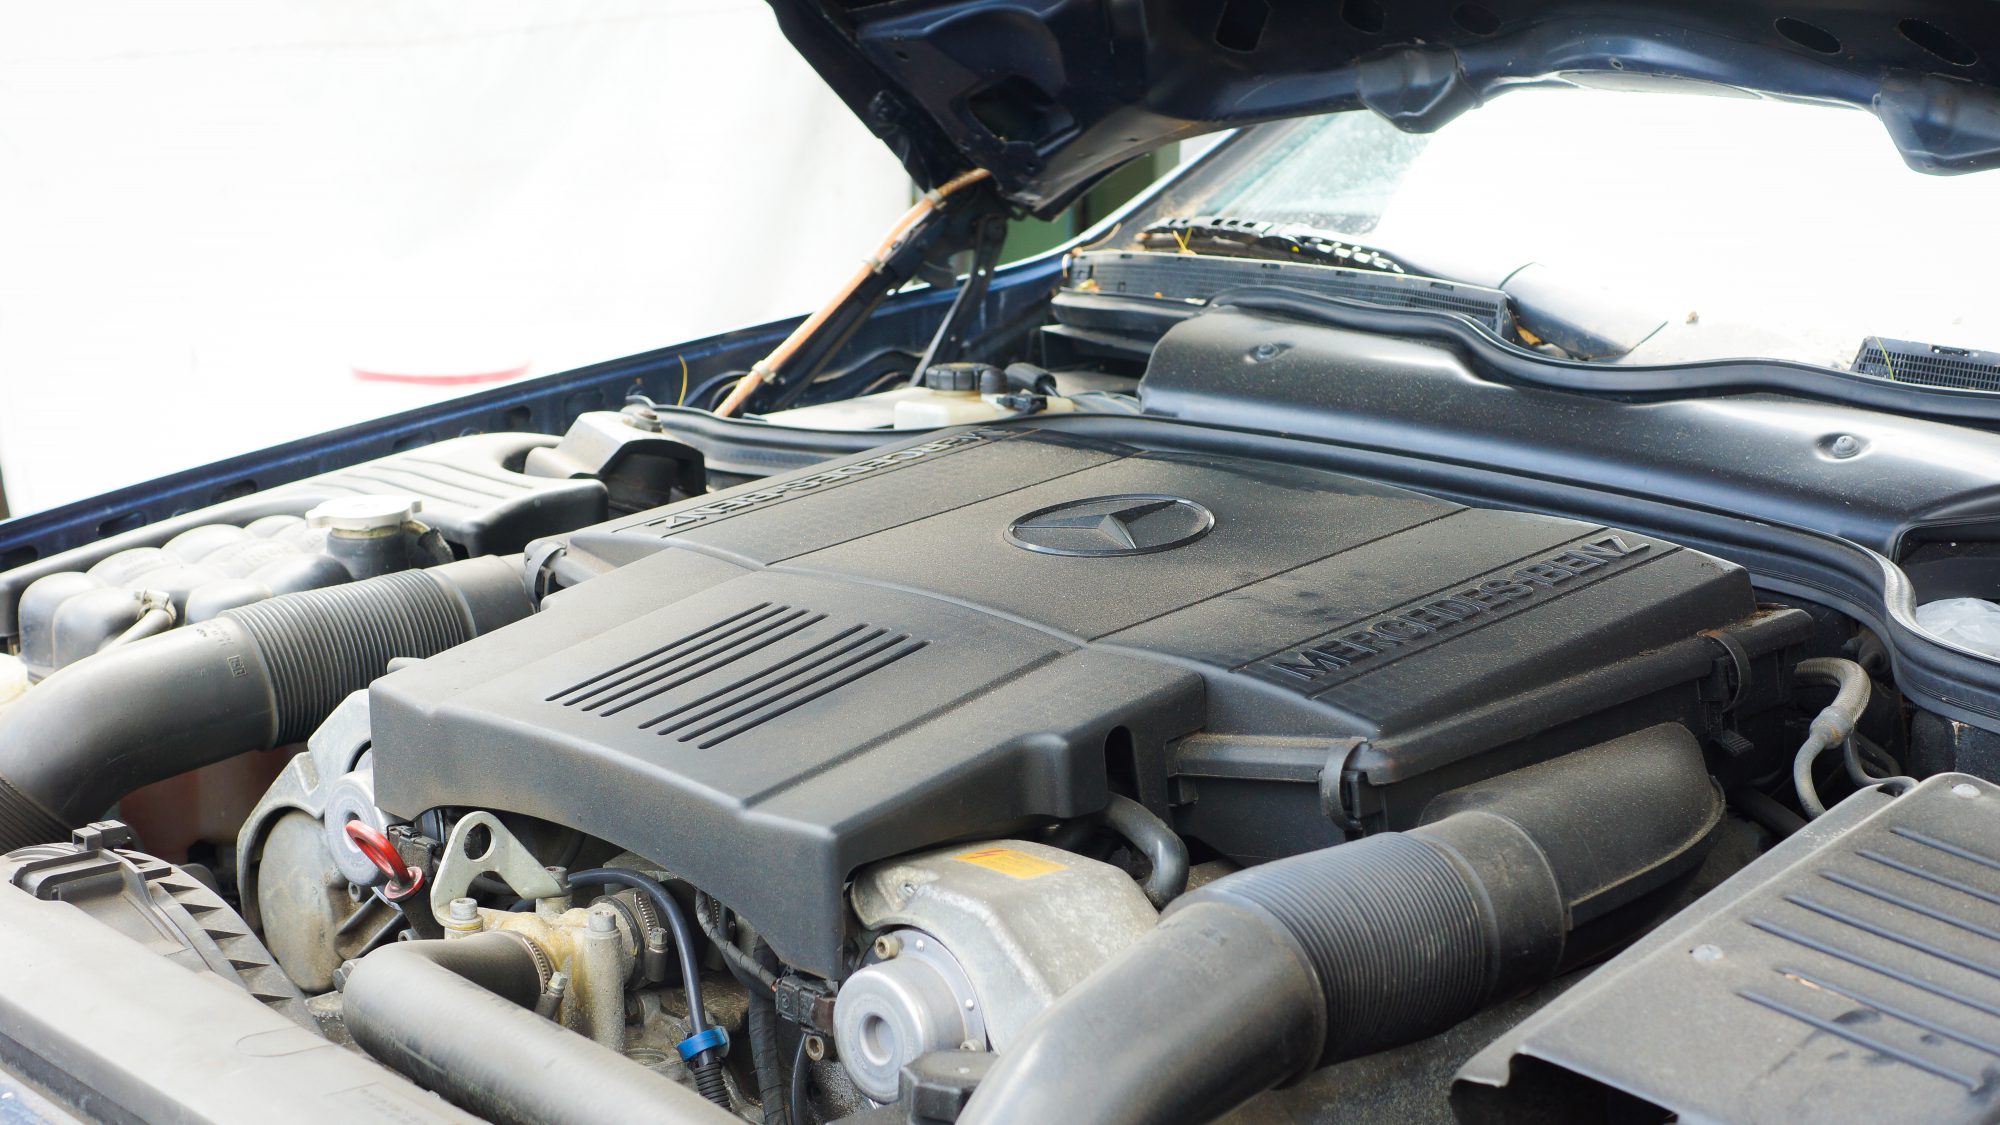
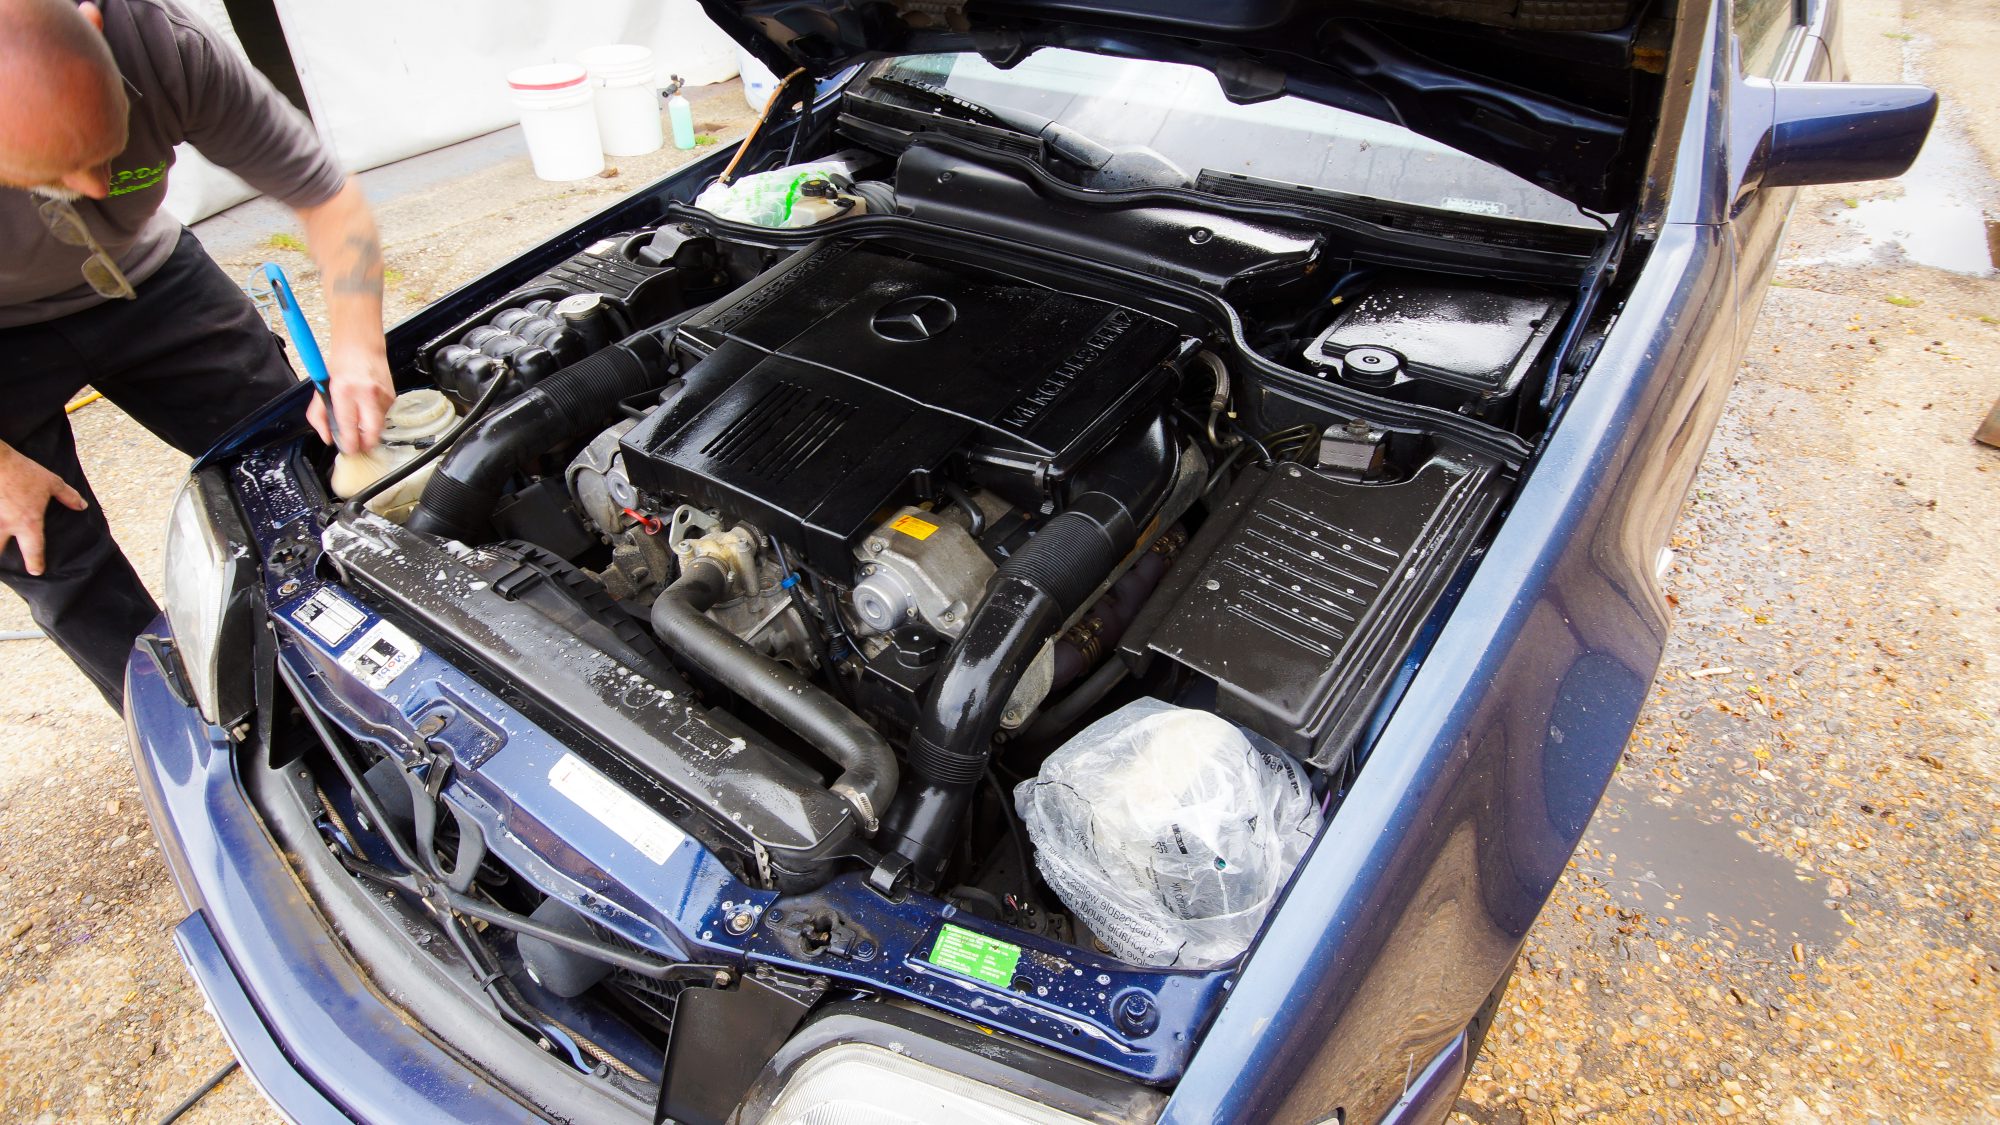
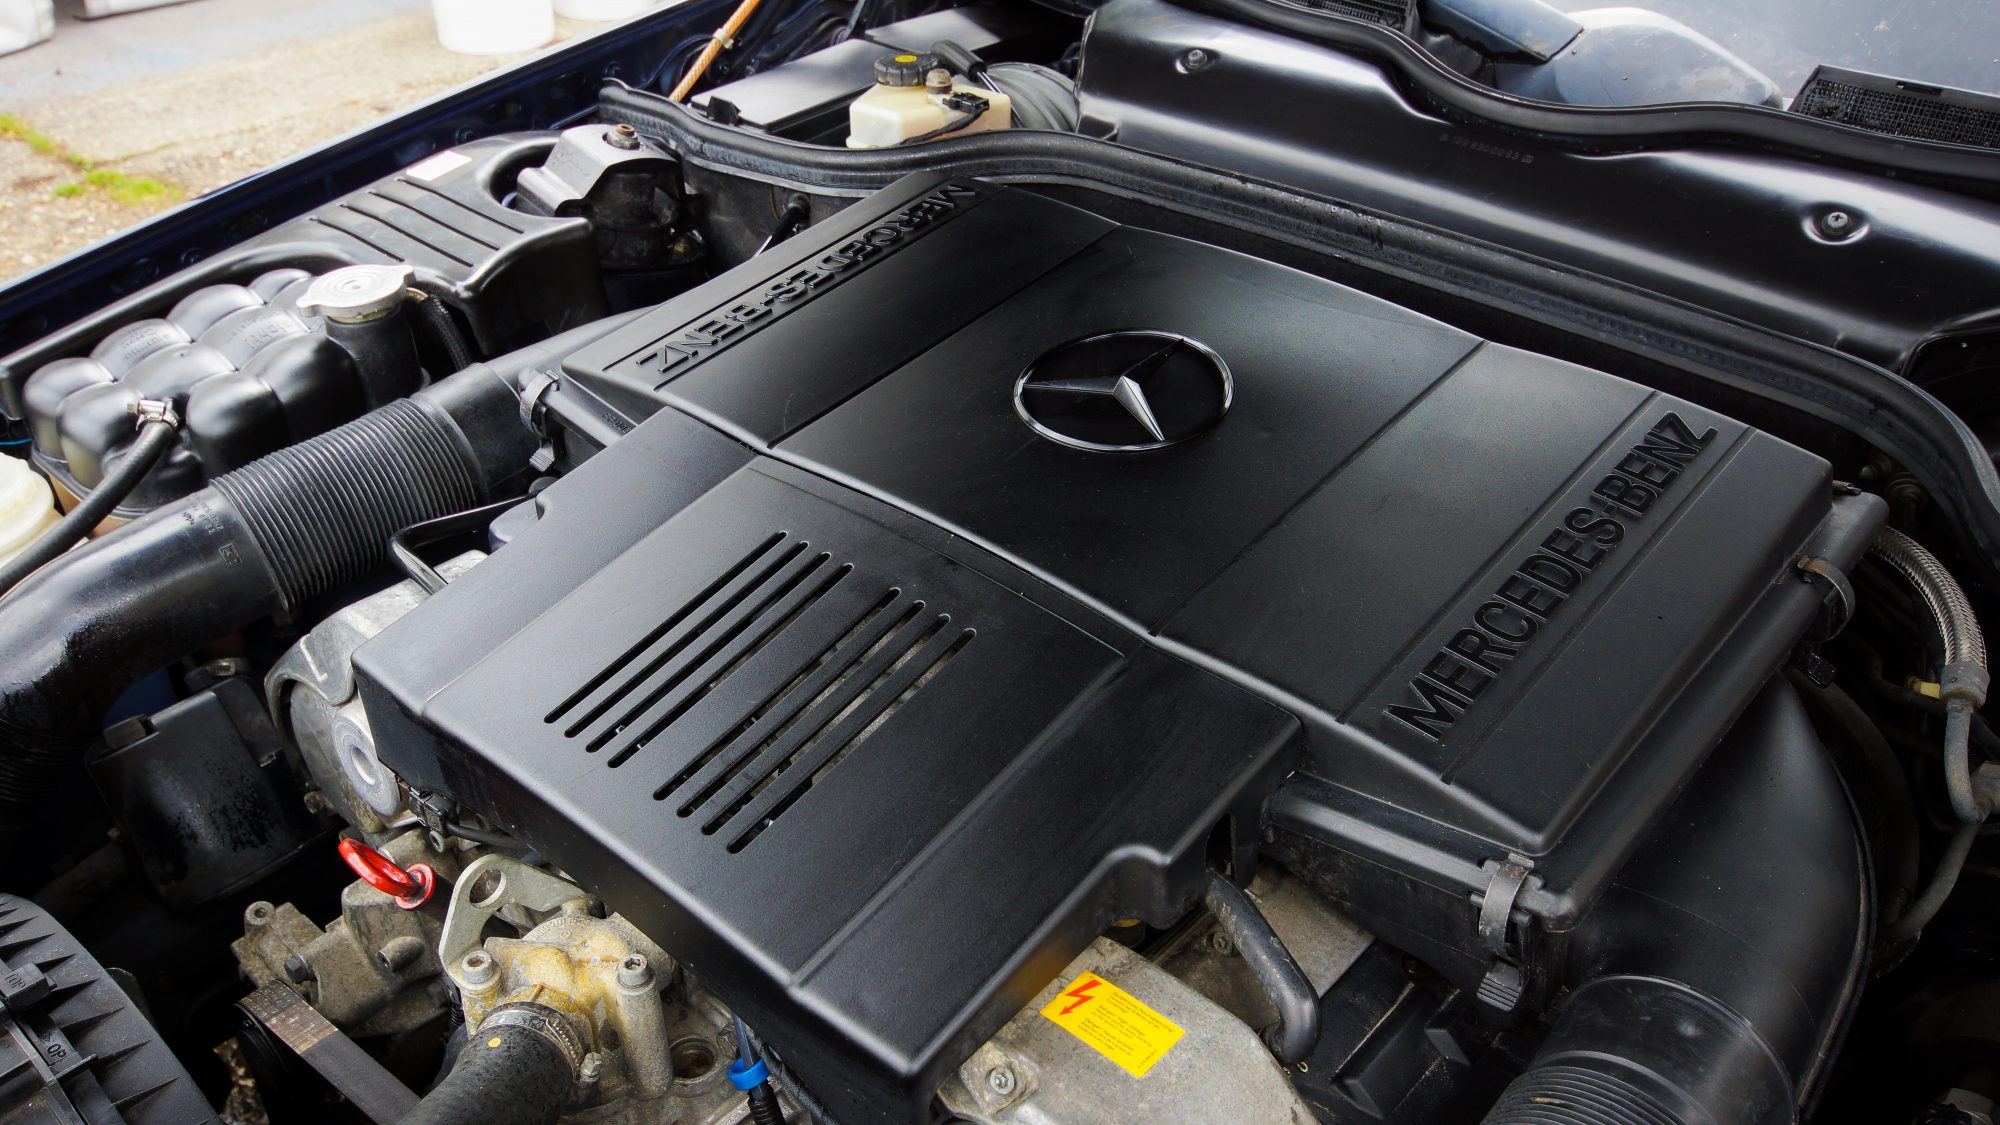
Step 2 – Engine Bay
This was just a cursory clean – the body is what we’re here to sort. However, Kev was keen to show us some quick tricks to bring an engine bay back up to muster. First, he covers up key electrical connections with plastic so as to stop unwanted water ingress. Then, he hit it with the degreaser and the detailing brush. The key here is not about how clean one part is, but how many parts you clean. Kev made a real effort to get into nooks and crannies, working the degreaser in. Once that had been left to do its thing, it was rinsed off and the process was repeated with Koch Chemie all-purpose cleaner. He then rinsed and dried everything off before applying the secret trick to the plastics – a healthy coat of WD40!
Step 3 – Hood pre-treatment
The hood on the SL would make a student’s bedroom look like a five-star hotel. It was unpleasant. Kev first blows off all the loose detritus with an air-line before scrubbing the fabric top with Koch Chemie all-purpose cleaner in a 5% solution with ionised water.

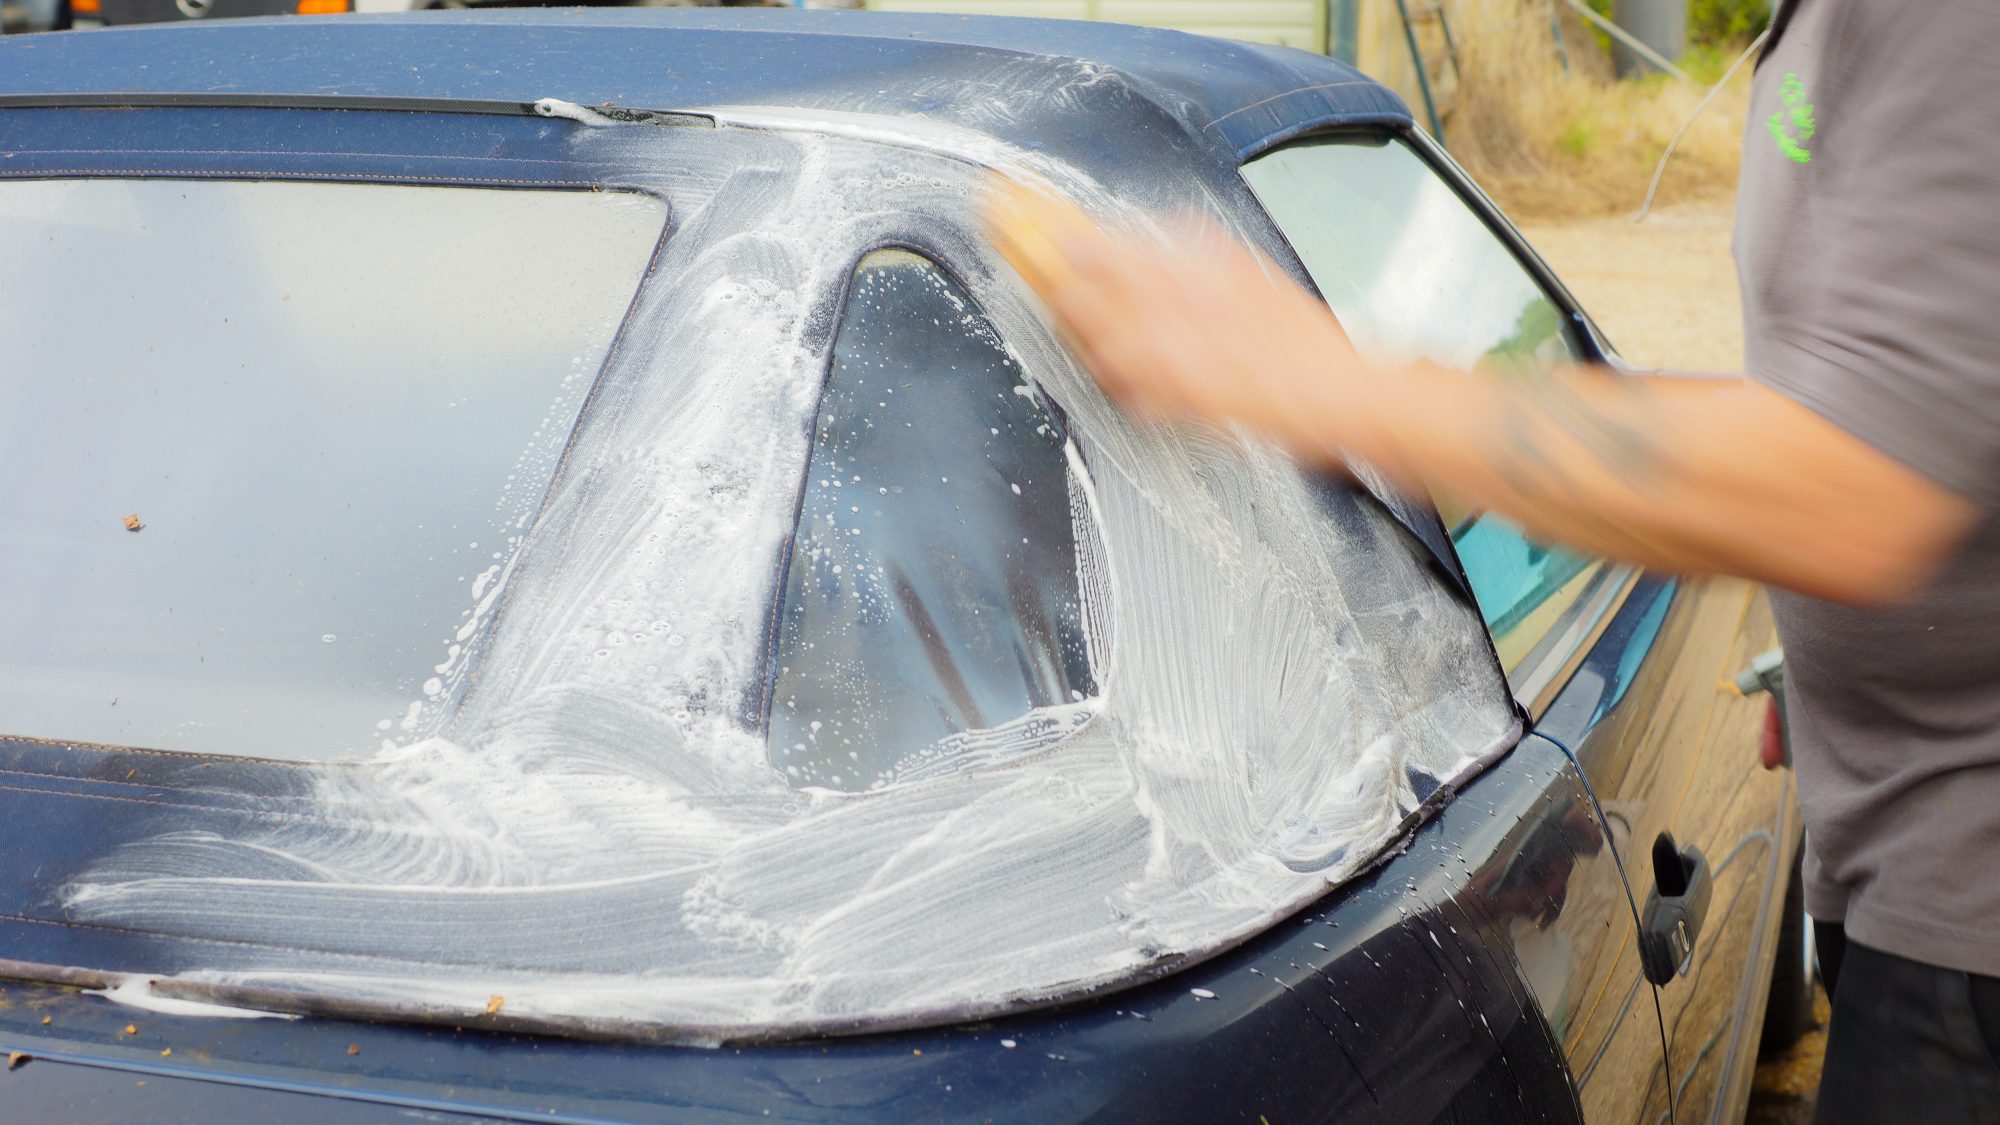
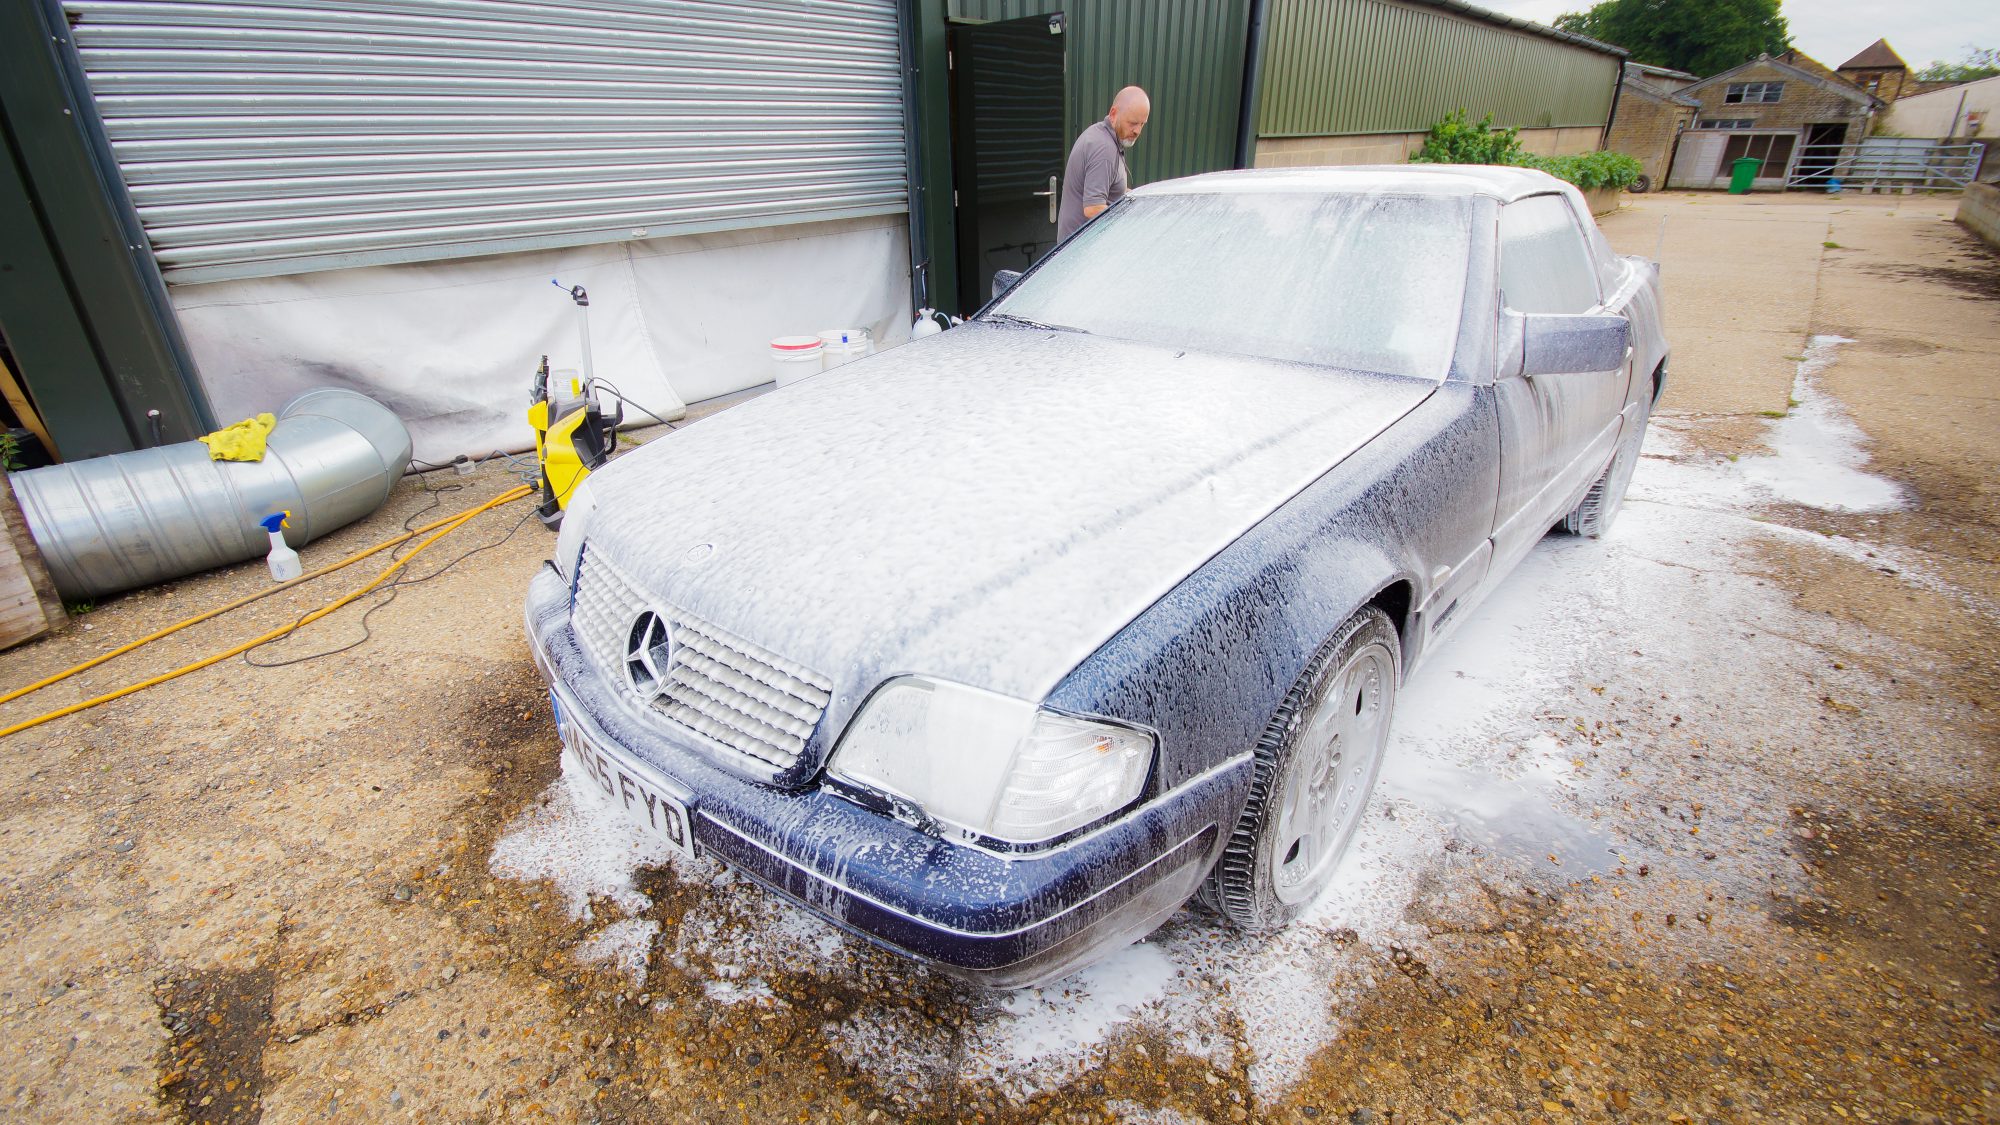
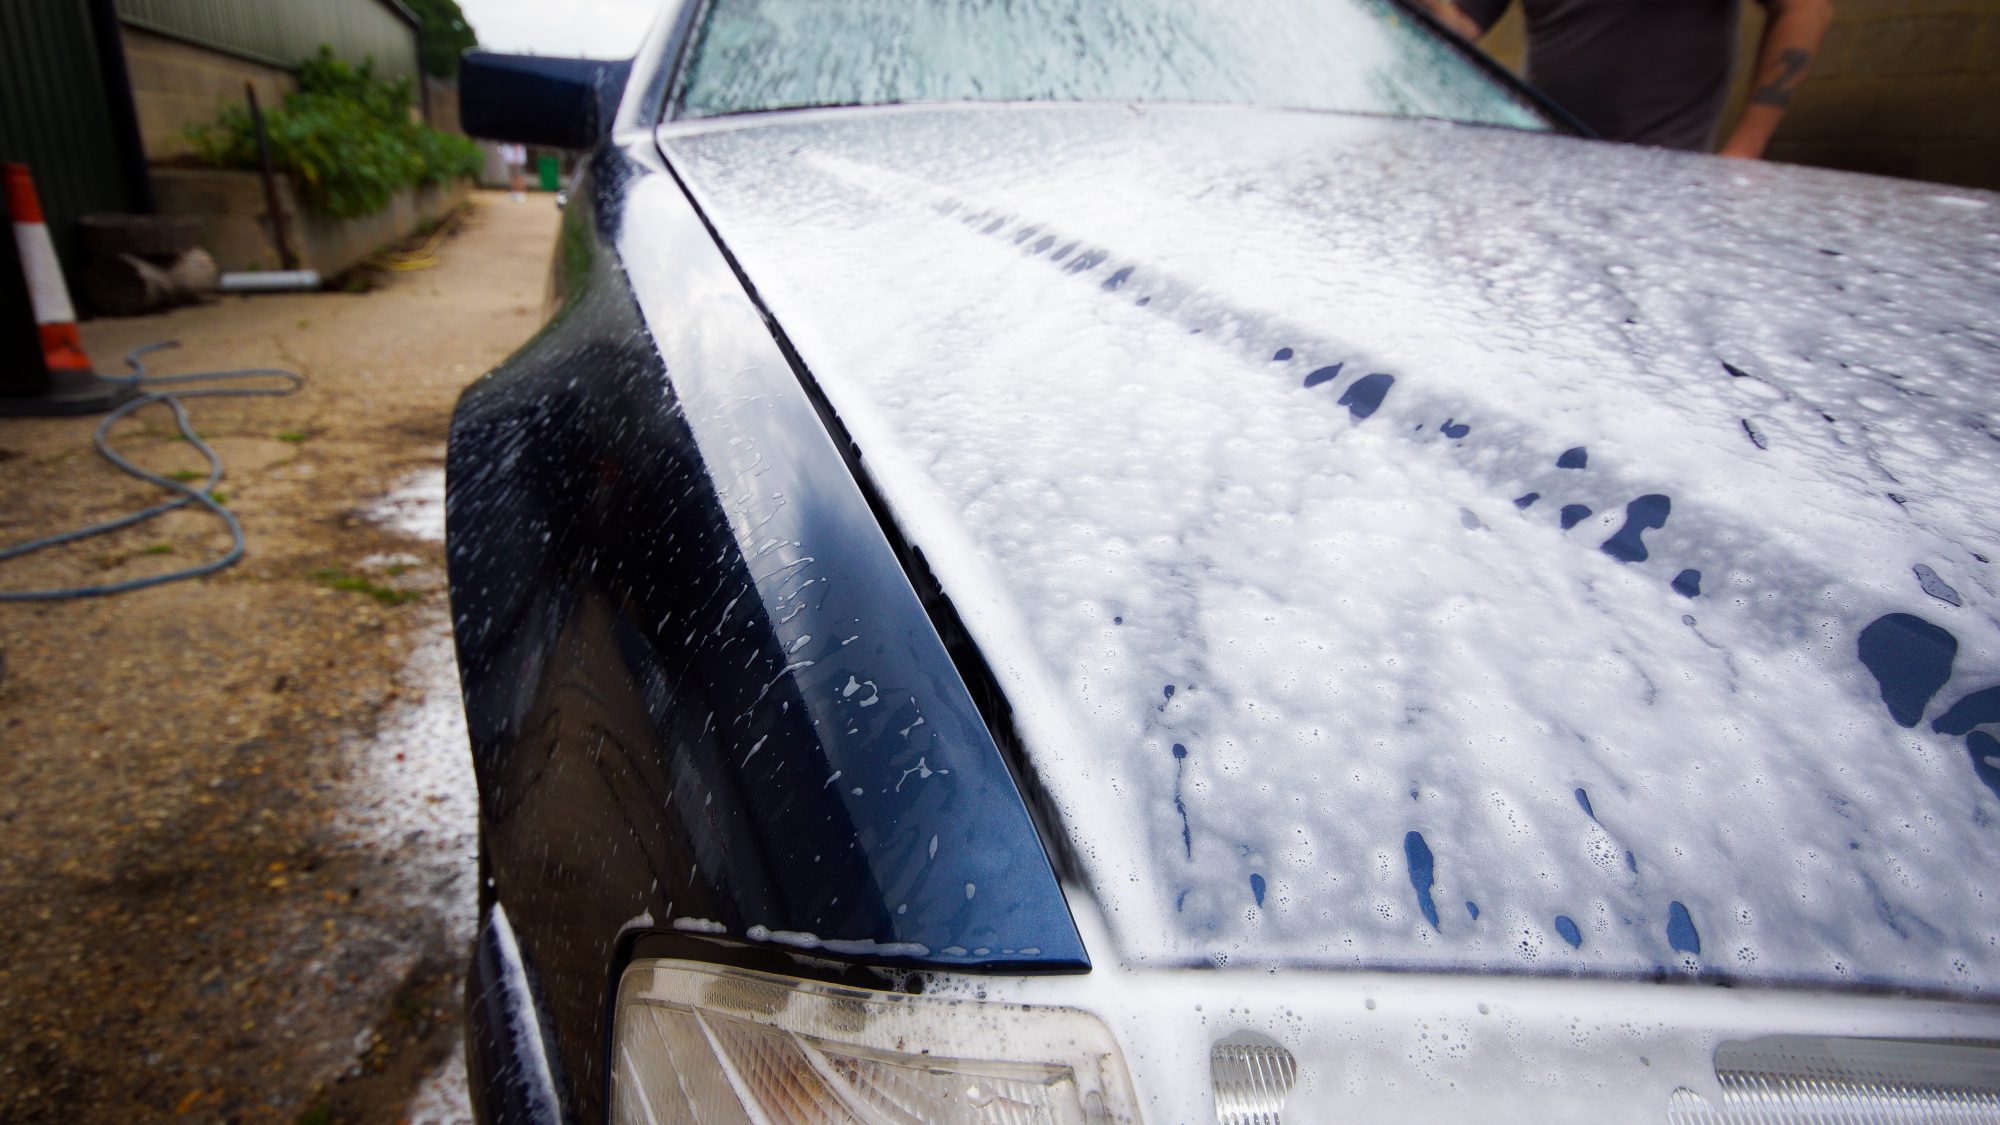
Step 4 – Body pre-clean (foam)
Arguably one of the most satisfying steps, Kev hit the body with a Bilt Hamber snow foam, and then worked it into the intricate areas around the lights, handles, grille and so on. This foam sits on the car and loosens the stubborn dirt that’s stuck to the car’s bodywork.
Step 5 – Contact Wash
Next, Kev gets up close and personal with the SL, carrying out a contact wash. He uses Bilt Hamber auto wash and a Dodo Juice washing mitt, being sure to rinse the mitt off each time in a second bucket of water. Why? So the dirt and grit stays in there, and not in the soapy water he’s rubbing onto the car.
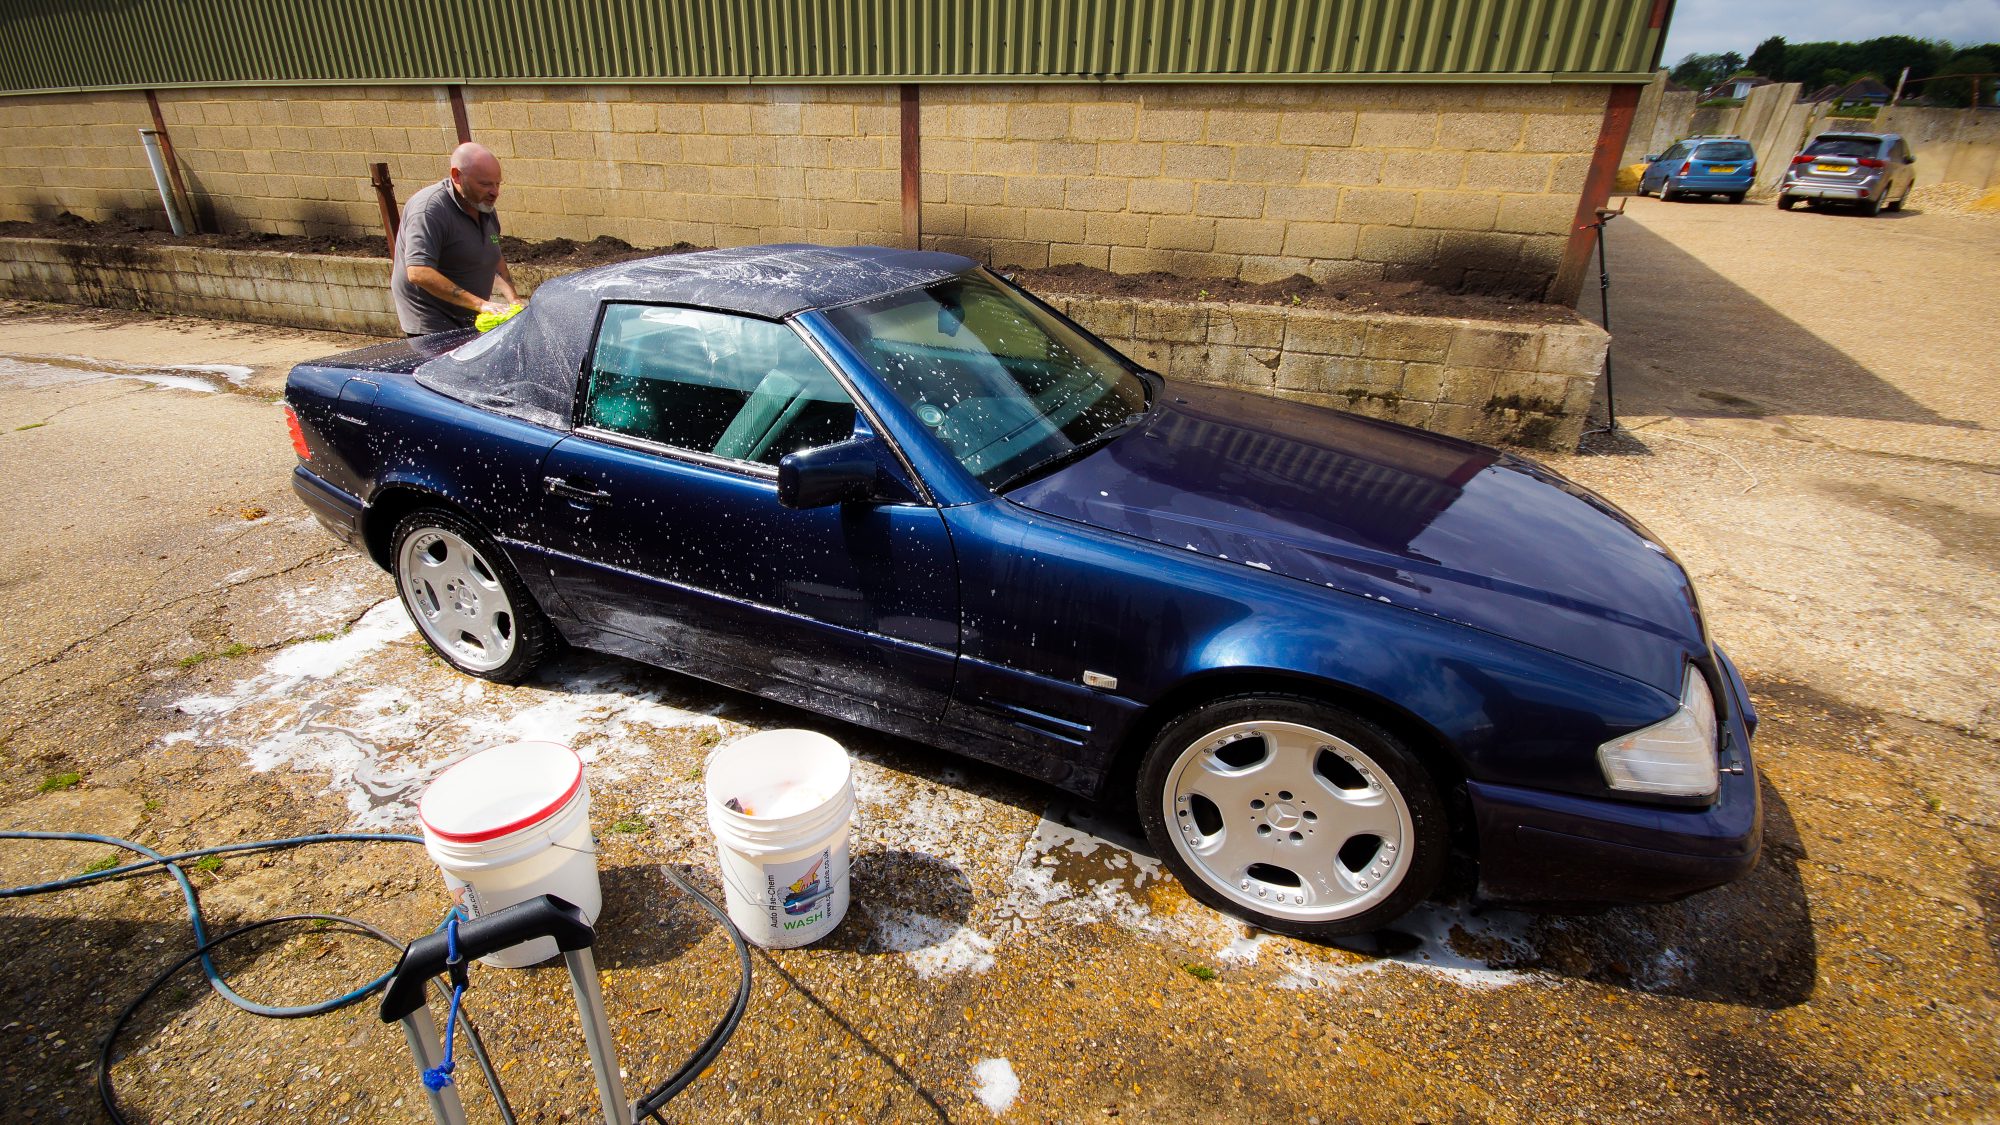
He then dries the car off using a Dodo Juice drying towel. After that, it’s time to bring the car inside. The washing has done wonders for the car already, but there are still some significant issues with the paint. Tree sap, bird mess, it’s made the blue metallic dull and blotchy. But we, well, Kev can sort that…
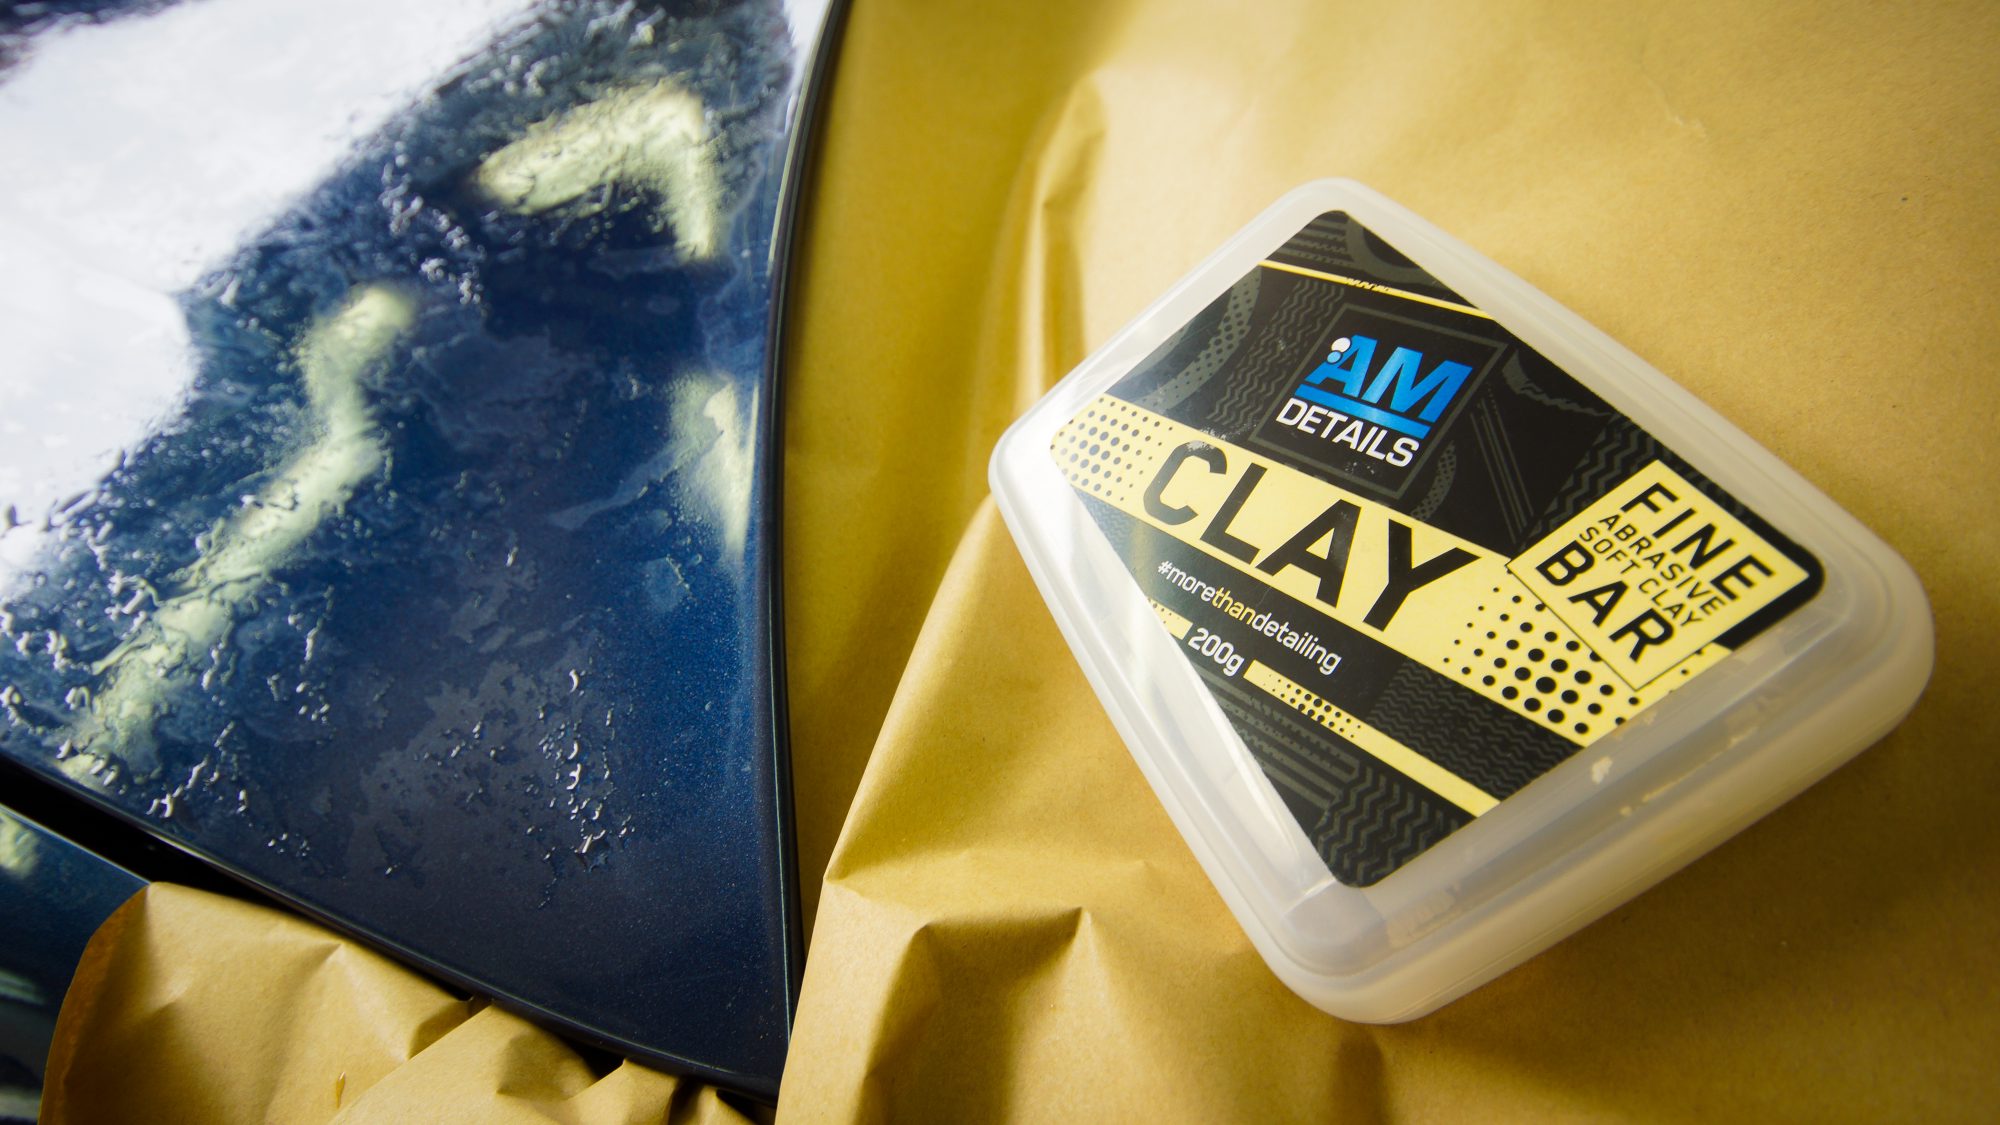
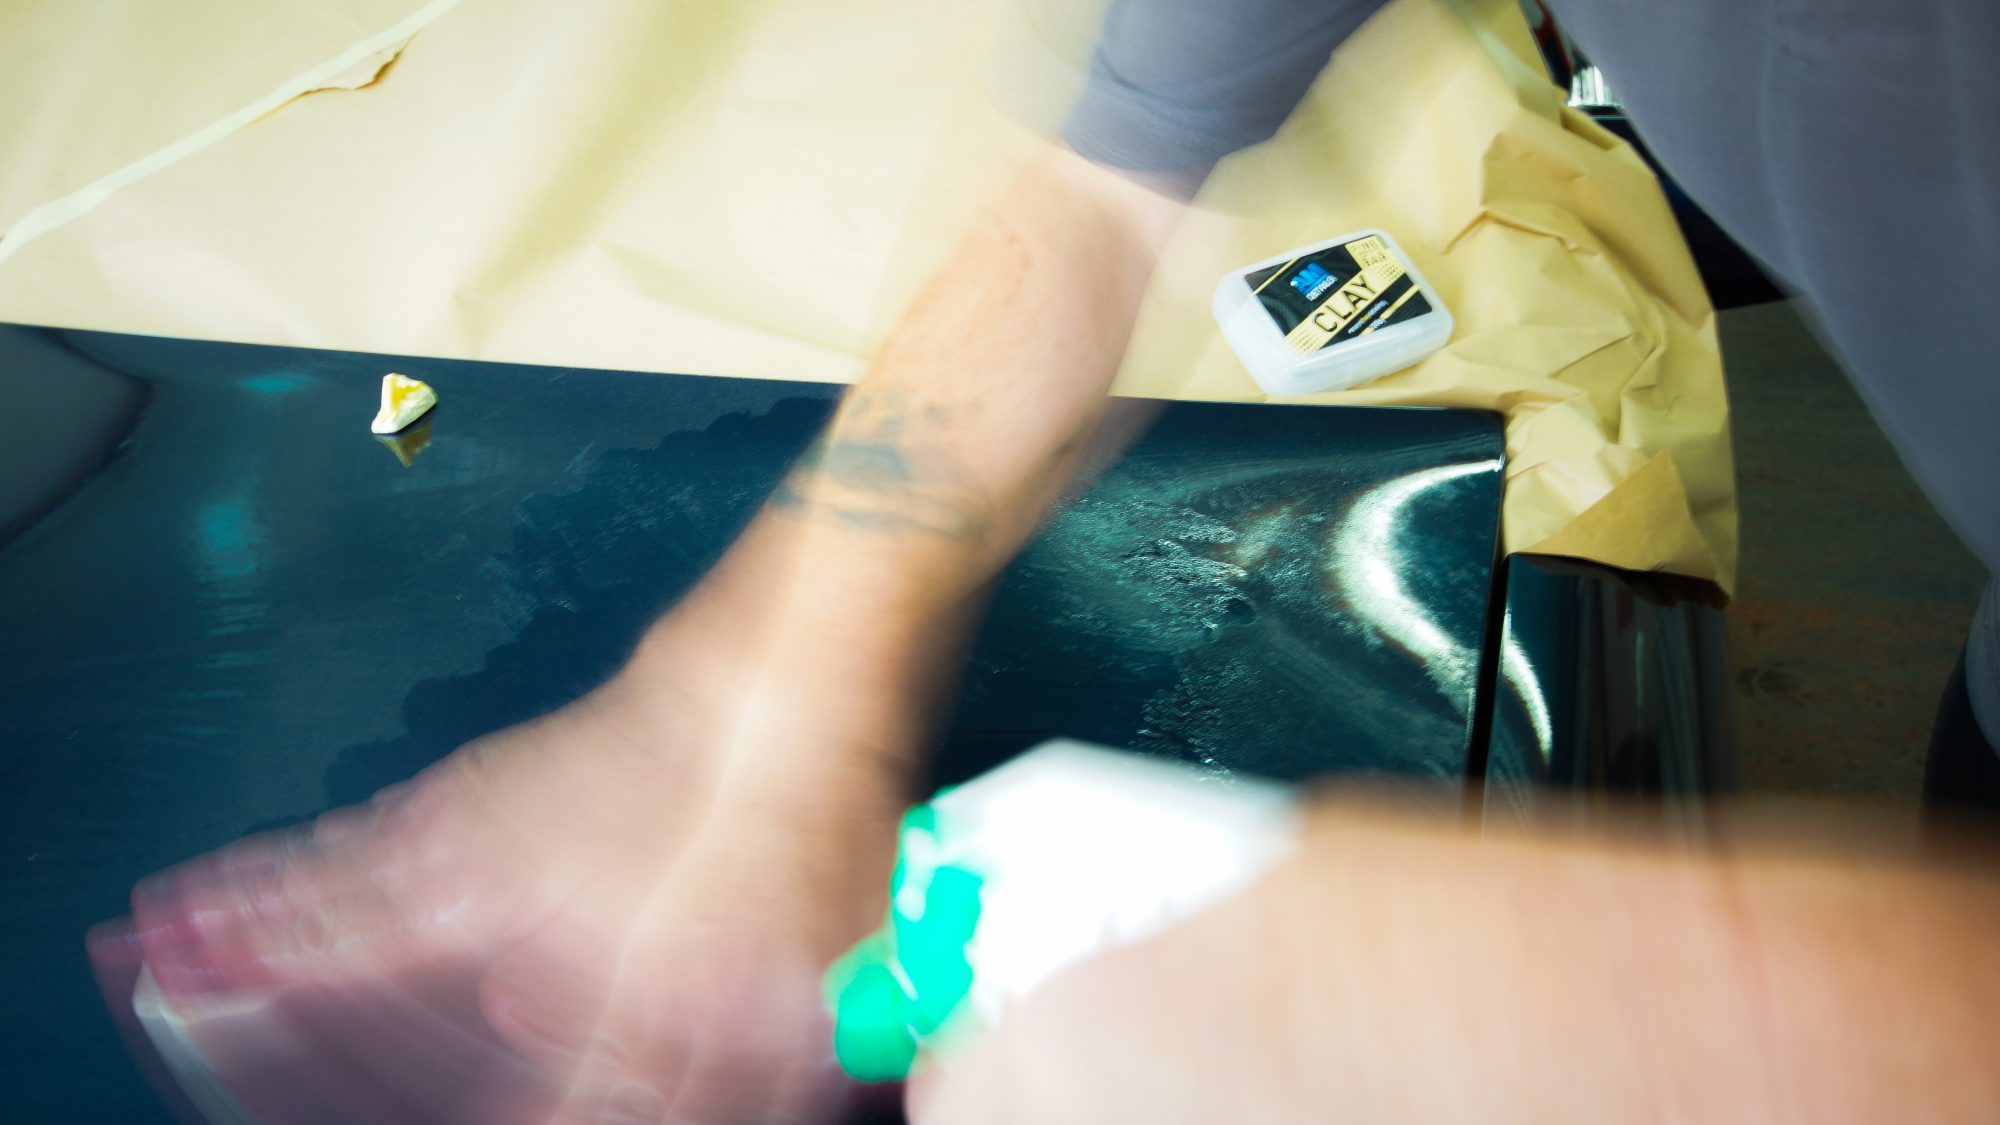
Step 6 – Clay Bar
Now it’s time to get busy with the clay, but we’re not making a kiln-fired pot. No, the AM Details clay Kev uses pick up the tiniest fragments of dirt that have worked their way into the paint. Kev warms the clay up in his hands to make it pliable, then sprays the body with a lubricant – water will do, but a bespoke clay bar lubricant is best – and moves the clay around. This is a highly labour intensive process, as you can only work a small portion of the body at a time. Also, you can only work the surface of the clay for short periods – otherwise you just end up moving the dirt and contaminates around on the paint. And that’s bad. So keep working the clay to maintain a clean surface.
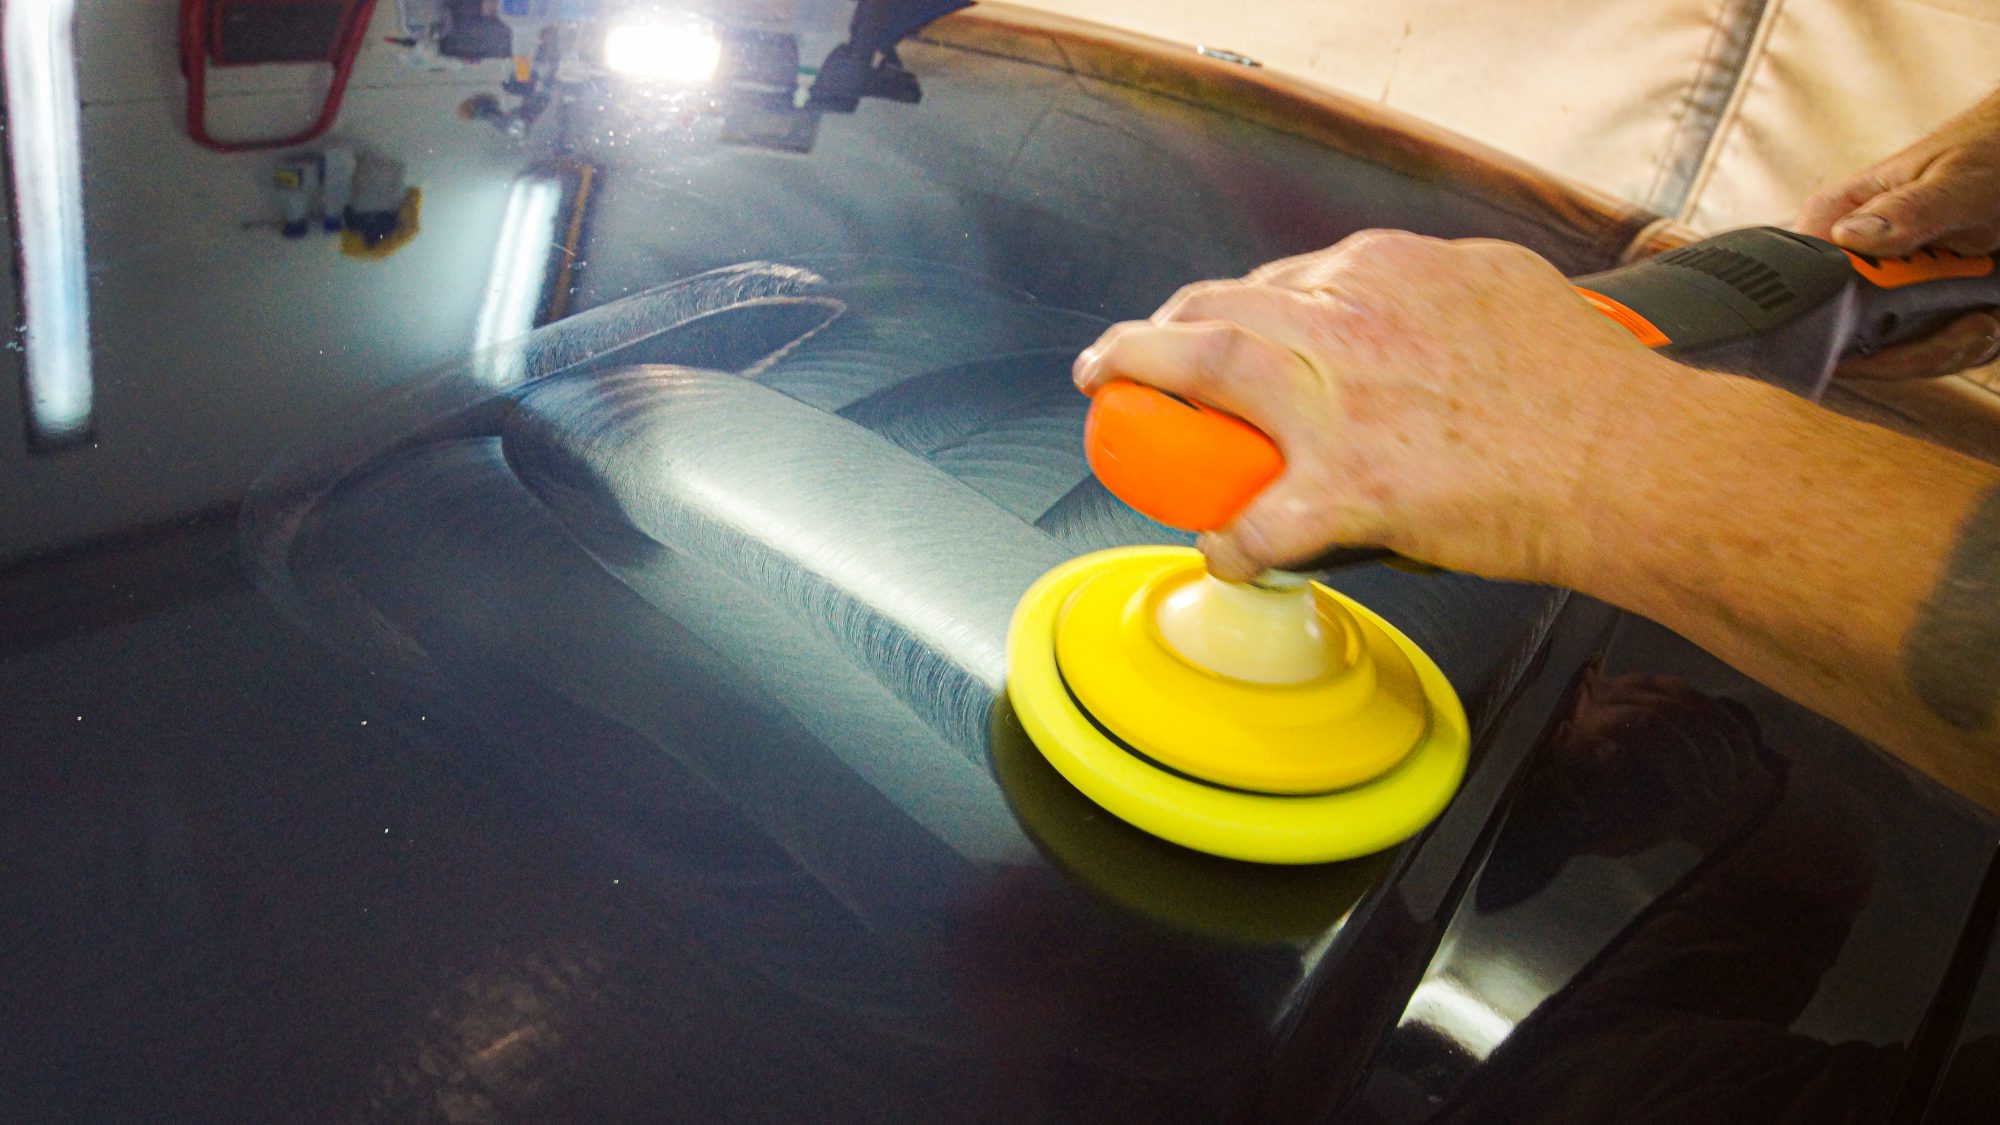
Step 7 – Machine Polish
The clay bar removed the contaminants from the paint, but there is still damage present. This is deep-seated, so we need to get the machines out along with the cutting compounds so we can, as the name suggests, cut back to the damage.
Kev uses two machines; one rotary and one dual action. The former simply spins about a fixed axis, while the latter oscillates, and thus increases the ‘work’ it does as it passes over the panel.

The damage is in the clear coat, so Kev applies some cutting compound to a foam pad, he dabs it onto the paintwork, and then covers a small area with the machine on its lowest setting. Once the compound has been spread out, he ups the machine speed and does three slow passes over the working area.
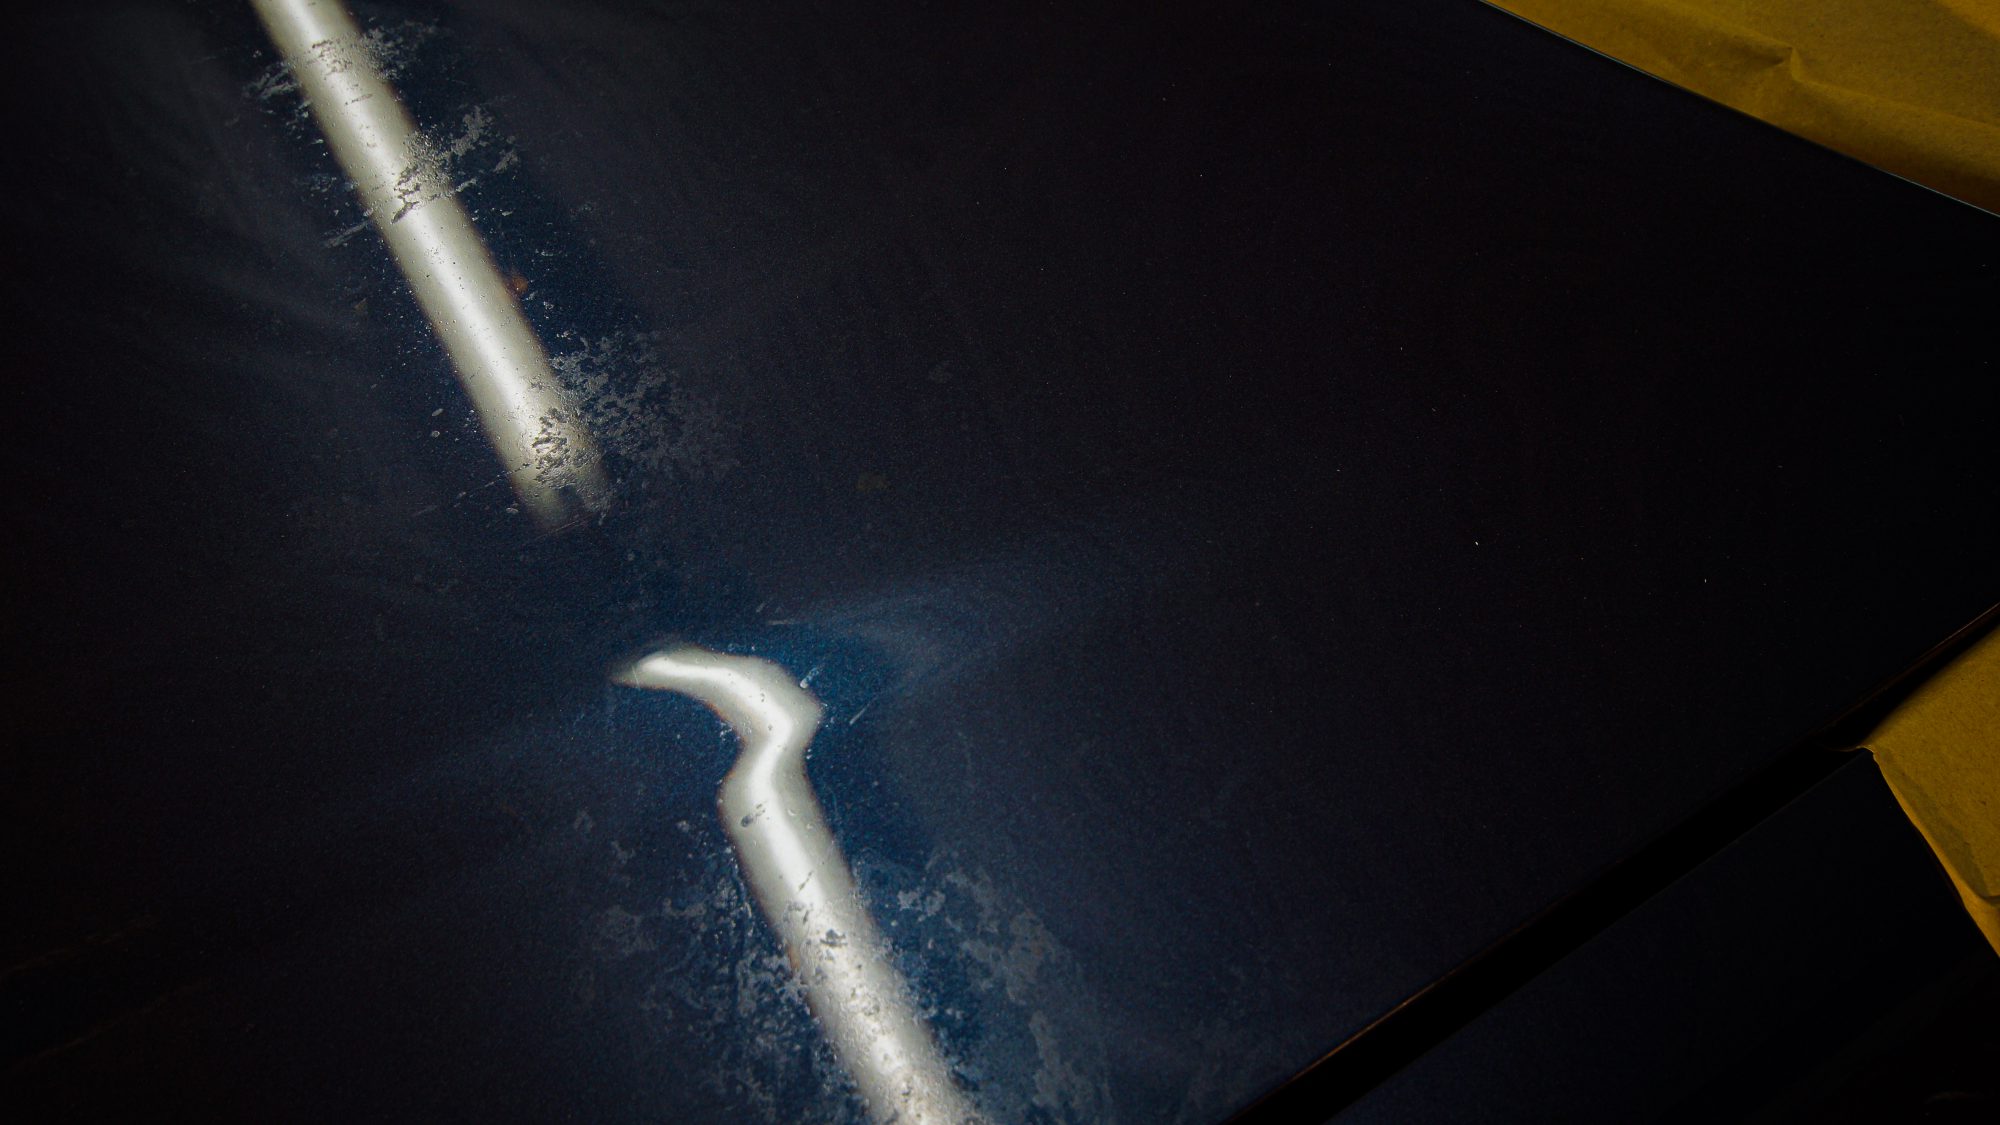
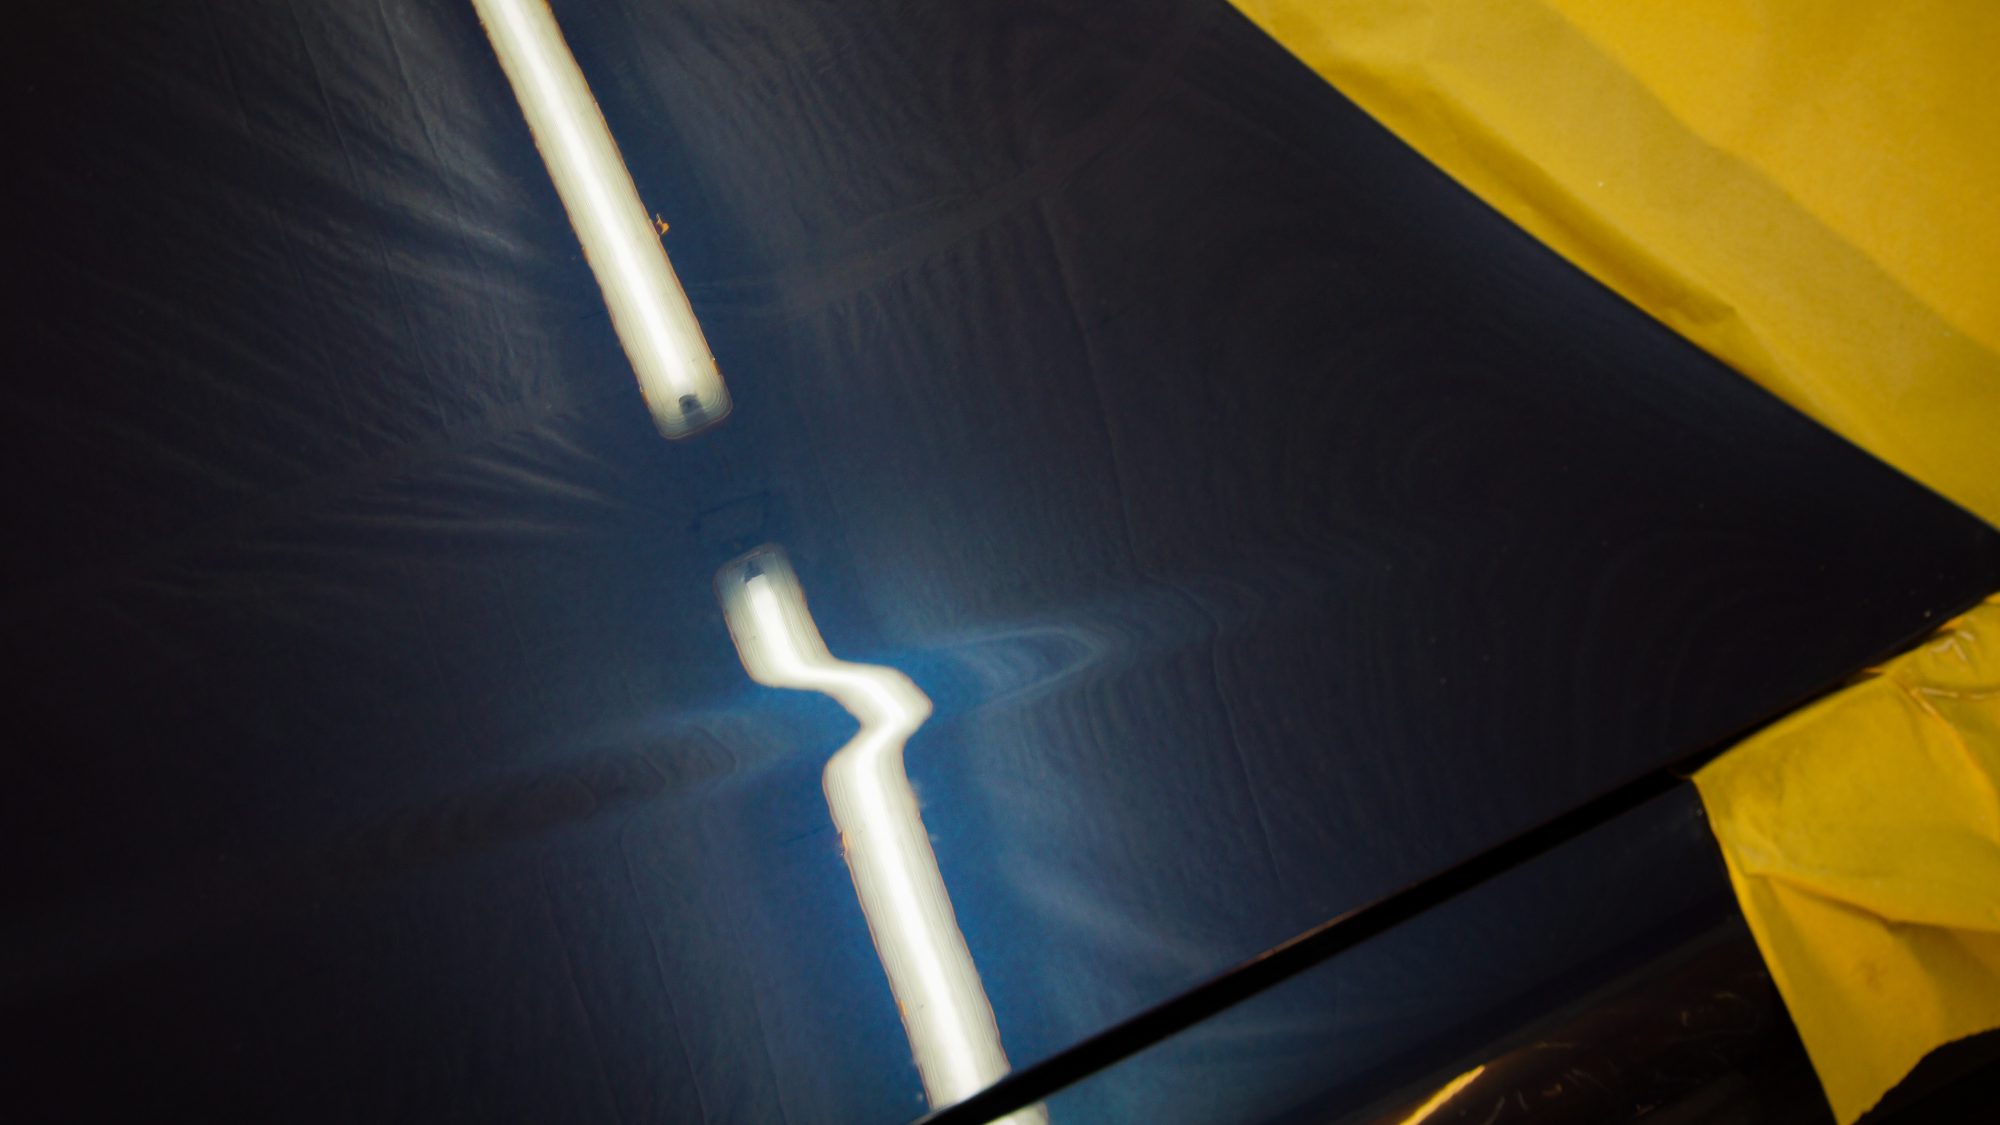
Step 8 – Machine Polish with Wool
Some of the more aggressive damage simply wasn’t going to come out with the conventional sponge pads. As such, Kev employed the use of a woollen mitt. I didn’t know this, but the wool is actually rather abrasive, especially when paired up with some Farcela G360 compound.
When Kev used this technique, again with a machine, the results were staggering. Once refined with some Koch Chemie P202 compound, the damage from the tree sap and birds was gone. Here’s a before and after…
Step 9 – The Final Polish
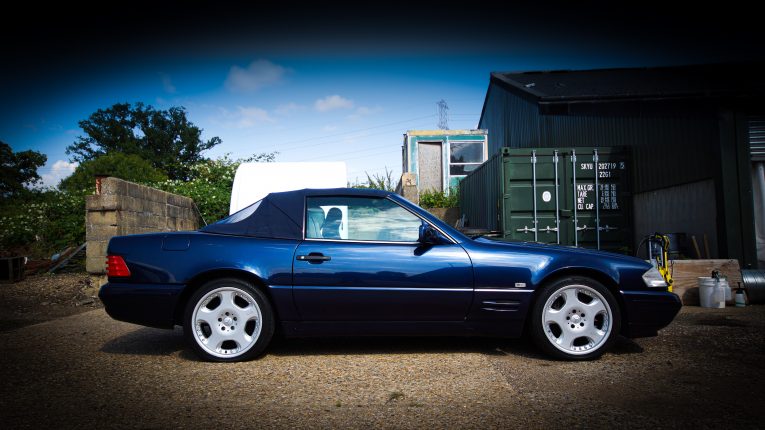
Finally, the time came to throw on a layer of wax. Kev’s weapon of choice was Autoglym Ultra HD which, like everything else here, can be bought off the shelf. This was, as you’d expect, a case of us applying with clean cloths before allowing it to dry, then we buffed it off.
The tyres were dressed with Carplan Demon Tyres and the glass was cleaned with Koch Chemie Speed Glass. And we were done.
Was it worth it?
Yes, in a nutshell. The reason I wanted to do this was to show that with a day and some hard work, you yourself can transform your car. While the world of professional detailing is out there and thriving (and rightly so) it isn’t the only option for bringing a car back from the realm of dead paint. The damage to Tom’s SL was significant, and I thought it was permanent, or if not, it would at least need a specialist. But Kev showed that it can be done at home with patience and the right approach.
Furthermore, the whole process was deeply satisfying, especially when you consider the visual reward that came as a result of our labours. And not only that, it’s taken years off the car. Yes, so would a wash and polish, but that would have just been polish over the damage.
It would have been a ten yard car. Now it’s a ten inch car, and it wasn’t hard to do. So I encourage you to have a go yourself and reap the rewards, or of course, give the talented and ever patient (what, I was nervous using machines on my boss’ car) Kev a shout on [email protected] or on 07728375135.