Service Self-Sufficiency – Five Tasks To Master

August 9, 2021
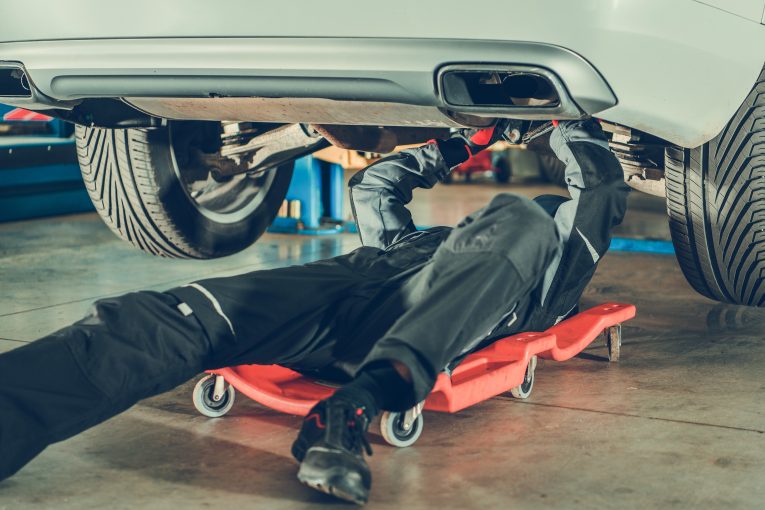
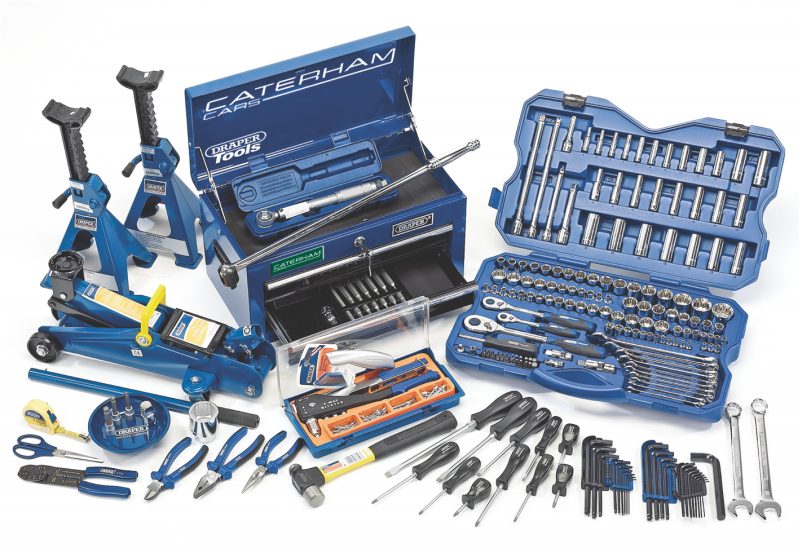
Working on your own car, for the most part, is both an enjoyable and rewarding experience. Don’t get us wrong, it can also be incredibly frustrating (trust us, we know) but self-sufficiency is an admirable trait to possess and having the knowledge and expertise to service your beloved classic without the need for a potentially expensive garage visit will not only save you money but it will also make you a better person. Fact. How often you choose to service depends on the car itself and how you drive but the general consensus is every year or 12,000 miles, whichever comes first. Servicing your car doesn’t need to be a pain in the proverbial though and you shouldn’t be scared of giving it a go and getting stuck in. With just a few simple tools, a safe location to work, an abundance of enthusiasm and a little common sense you can effectively tackle this all important facet of vehicle ownership and keep your pride and joy running safely, efficiently and on the road where it belongs. Now this is by no means a comprehensive list and we’re obviously having to generalise at times but it does cover a lot of the main service areas and processes to consider so get your parts ready, grab your spanners (and a Haynes manual if you have one) and let’s crack on.
1) Oil and Filter Change
The life blood of your engine needs to be changed regularly to keep your motor running at its best and again, depending on your car and driving style the interval will vary but generally speaking anywhere between 3,000 and 5,000 miles is a good yardstick. If you have a service manual you can check the exact requirements as well as the type and quantity of fresh oil to use but if not then the Internet is your friend.
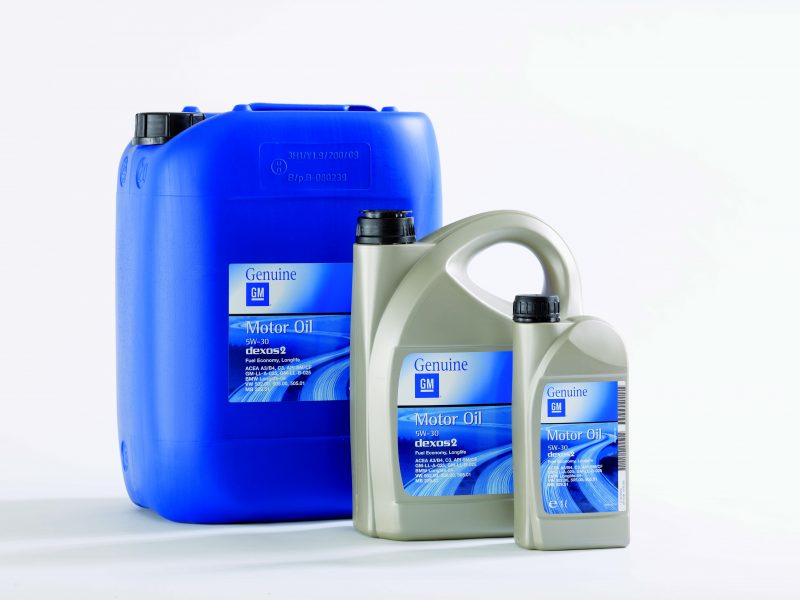
First things first – warm up the engine enough so that the oil will be less viscous and easier to drain and then jack up the car and get it on axle stands or ramps (NEVER rely solely on the jack). Locate the oil drain plug which will be on the sump and stick a suitable receptacle underneath large enough to contain the volume of oil that will be expelled. Now crack the plug loose and try not to drop it – fishing a sump plug out of a bucket of dirty oil is never fun. With the oil drained you can remove the old filter. Hopefully whoever installed it didn’t go full send and you can remove it by hand, otherwise you’ll need a filter wrench. Alternatively you can go down the ghetto route and jam a screwdriver through it and twist. Either will work just make sure to remove the old rubber gasket too. Re-install the sump plug, replacing the crush washer if necessary and fit your new filter, smearing some fresh engine oil around the new gasket before hand-tightening it. You can now get the car back on the ground and re-fill the engine with sweet, fresh nectar. Let the oil settle for a few minutes and then check the dipstick, topping up as necessary. Oil service achievement unlocked.
2) Coolant Flush
Regular maintenance of your cooling system will prevent overheating issues which can be devastating if left unchecked. The fluid itself can deteriorate, diminishing its rust-inhibiting capabilities as well as the ability to cool effectively and contaminants may also have been introduced and although a coolant flush isn’t required as regularly as an oil change knowing the process is still good practice. It’s important to use the correct product and quantities for your engine as properties vary greatly and fluids made for newer cars will not necessarily be compatible with older vehicles so again, check your service manual or the relevant online sources. With that in mind, and ensuring that the engine is cold, remove the radiator cap (if present) and locate the radiator drain plug or lowest, detachable part of the cooling system (usually the lower radiator hose) and undo it, directing the deluge into a bucket. You can then move on to draining the block in the same manner. Remember to remove and drain the reservoir too. Once all of the coolant has been expelled re-install the reservoir and drain plugs and replace any washers.
It’s always worth inspecting the old coolant as head gasket issues can present themselves by way of a creamy fluid indicating that oil is mixing with the water, which is bad. Very bad. You can then either flush the system with clean water or skip straight to re-filling with the correct, fresh coolant, whether that be pre-mixed or a concentrate that you need to combine with distilled water. Either way you can go ahead and slowly fill the coolant reservoir to just below the maximum line. Now start the engine with the radiator cap still off to purge the system of any air – you will see it bubble and cough as the air is released. As the fluid level drops, top up with fresh coolant until all of the air has been expunged and the fluid is at the correct level – this this can take some time so be patient. You can then replace the radiator cap. Have a look for any leaks and continue to check levels regularly over the next few days.
3) Replacing Spark Plugs and Ignition Leads

When carrying out a service on your car it’s always a good idea to replace the spark plugs and leads as a matter of course as they are inexpensive items that can greatly improve the operation and efficiency of your engine. With a cold engine you will first need to disconnect the leads from the plugs themselves as well as from the distributor or coil, depending on your particular setup. With the leads out of the way you can then remove the plugs. It’s a good idea to use a dedicated spark plug socket as they contain a rubber insert that helps hold the spark plug snugly and prevents it from being damaged by the tool itself. Remove the plugs one-by-one, being careful not to let any detritus fall into the holes and then refit your new plugs according to the vehicle manufacturer’s recommended specifications and torque settings. If your engine bay is particularly dirty it may be worth giving it a clean first. The plugs should come pre-gapped to the correct distance but you can check and adjust this yourself should you require using a simple set of feeler gauges. It’s then merely a case of plugging in your new leads at both the plug and the distributor/coil but we do suggest replacing them one by one so as to not forget the orientation and order in which they are connected.
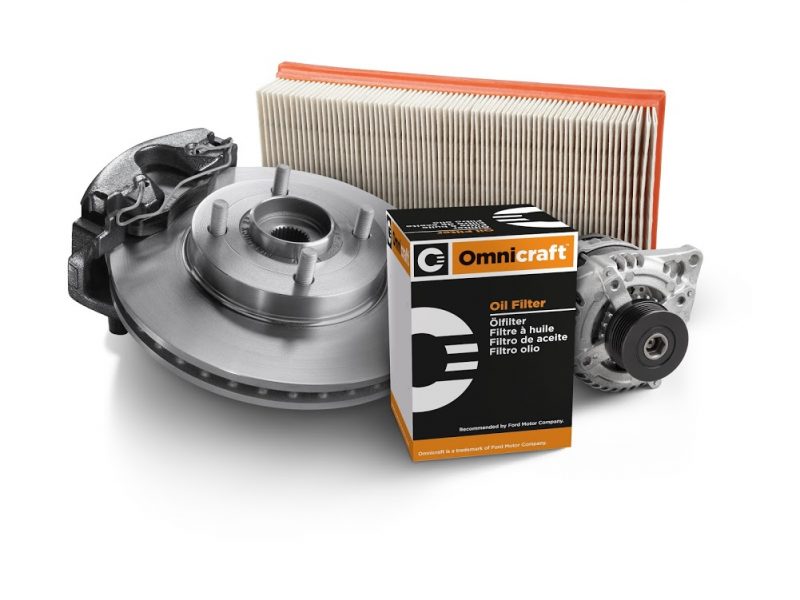
4) Changing Brake Discs and Pads
When it comes to safety-critical service items like brakes a little more care and attention is required. If you don’t quite top up the right amount of oil or fail to install an ignition lead properly it’s not going to be the end of the world but if you bugger up your brakes then you could find yourself in serious trouble. The bottom line is if you’re not confident then leave it to a professional. With that said (and the lawyers off our backs) changing brake discs and pads is a relatively simple operation that doesn’t require any specialist tools. Step one is getting the car up on stands and removing the wheel. To get to the disc itself you will need to remove the brake caliper which will be bolted on and these rascals can be tight so penetrating fluid is key. You do not need to disconnect any hoses unless they’re being replaced so you can just hang the caliper out of the way, making sure the hoses aren’t stressed or kinked. The next step is to remove the carrier that holds the caliper in place, likewise this will just be bolted on. You can then remove the disc which is sometimes held in place by a locating screw. Again, these can be tighter than a cyclist’s Lycra so be prepared – drilling them out is a last resort best avoided. You may need to encourage the disc with a few taps from your favourite persuader but that’s basically it and refitting really is a case of reversing the entire process, just be sure to give the new discs a good clean to remove any oil.

The new pads can go in at any point after the caliper has been removed but you will need to extract any locating pins and compress the pistons to allow enough space for the increased thickness of the new pads. You can use a specifically designed piston compression tool but a G-clamp works equally well, just ensure that the brake fluid reservoir cap has been loosened to prevent blowing any lines. Force the pistons back as far as they will go and slide the new pads in to the caliper, replacing the locating pins afterwards. Smearing a little ant-seize copper grease on the rear of the pads will prevent them from making that god-awful squealing noise that makes you pull a silly face. Make sure all of the bolts are torqued to spec, pump the brake pedal a few times until you feel pressure and give yourself a pat on the back – you’ve just replaced your brake discs and pads. Just remember to bed them in properly.
5) Bleeding Brakes
Although it is not necessary to bleed your brakes after replacing discs and pads it remains an important service skill to have under your belt. There are myriad reasons why you might need to replace your brake fluid: brake lines corrode and leak, master cylinder seals perish, the fluid itself has a finite lifespan and can become porous, to name just a few and that means a bleed will also be necessary to remove any air in the system. So with that in mind the first thing you’re going to need, in the absence of a willing friend, is a bleed kit. Yes, it’s much easier to bleed brakes with an extra pair of hands but it’s not impossible to do it on your tod. A bleed kit is essentially a jar or bottle with a lid and some clear tubing of the correct diameter to fit snugly over the bleed nipple on your car’s brakes. You can buy these for a few quid or easily make your own. Simply drill two small holes in the lid of your chosen receptacle, one to feed the hose through and another as an air vent and then pour in some brake fluid to cover the end of the hose so that no air can get in. That’s essentially it. Connect the other end of the hose to the bleed nipple on your brake and open it with a spanner. Top off the master cylinder and pump the brake pedal a few times until the hose is full of fresh fluid with no air bubbles. Close the bleed nipple and repeat at each wheel, making sure to top off the master cylinder each time and you’re done. The brake pedal should feel solid, not spongy. There are other ways to accomplish the same result but the gravity method takes far too long and a vacuum pump is a lot more expensive than the bleed kit mentioned above.

With these simple skills in your repertoire you should be able to drastically cut the cost of a service while at the same time becoming more confident and competent when it comes to maintaining your classic. Just remember to dispose of any hazardous materials responsibly and who knows, you could be attempting a replacement head gasket or timing belt next – the world is your oyster! Just make sure you use the right fork.